Docs / User Guide / Media and drives
Media and drives#
Loading programs, disks, cartridges, tapes and tunes, and the Assembly64 catalog. Part of the User Guide.
Media load#
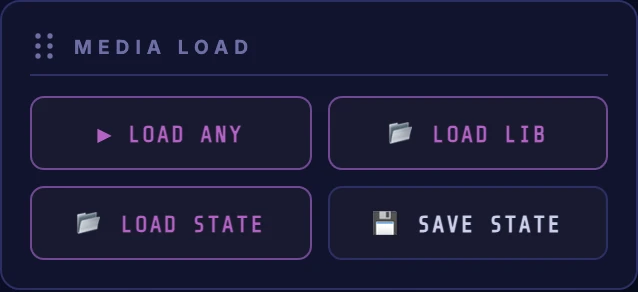
| Button | What it does |
|---|---|
| ▶ LOAD ANY | Picks any C64 file (.prg, .d64, .d71, .d81, .g64, .nbz, .crt, .tap, .t64, .sid, .wav, .dmp or .reu) and does the right thing with it. With the machine off, it powers it on first, as dropping a file on the screen does. |
| 📂 LOAD LIB | Opens the Library dialog of files you've loaded before, cached in this browser. |
| 📂 LOAD STATE | Opens the Save states dialog to restore a frozen machine; also imports / exports state files. |
| 💾 SAVE STATE | Freezes the whole machine (RAM, every chip register, and whatever disk / tape / cartridge is inserted) into a named slot stored in this browser (browse them later with LOAD STATE). |
Save states dialog#
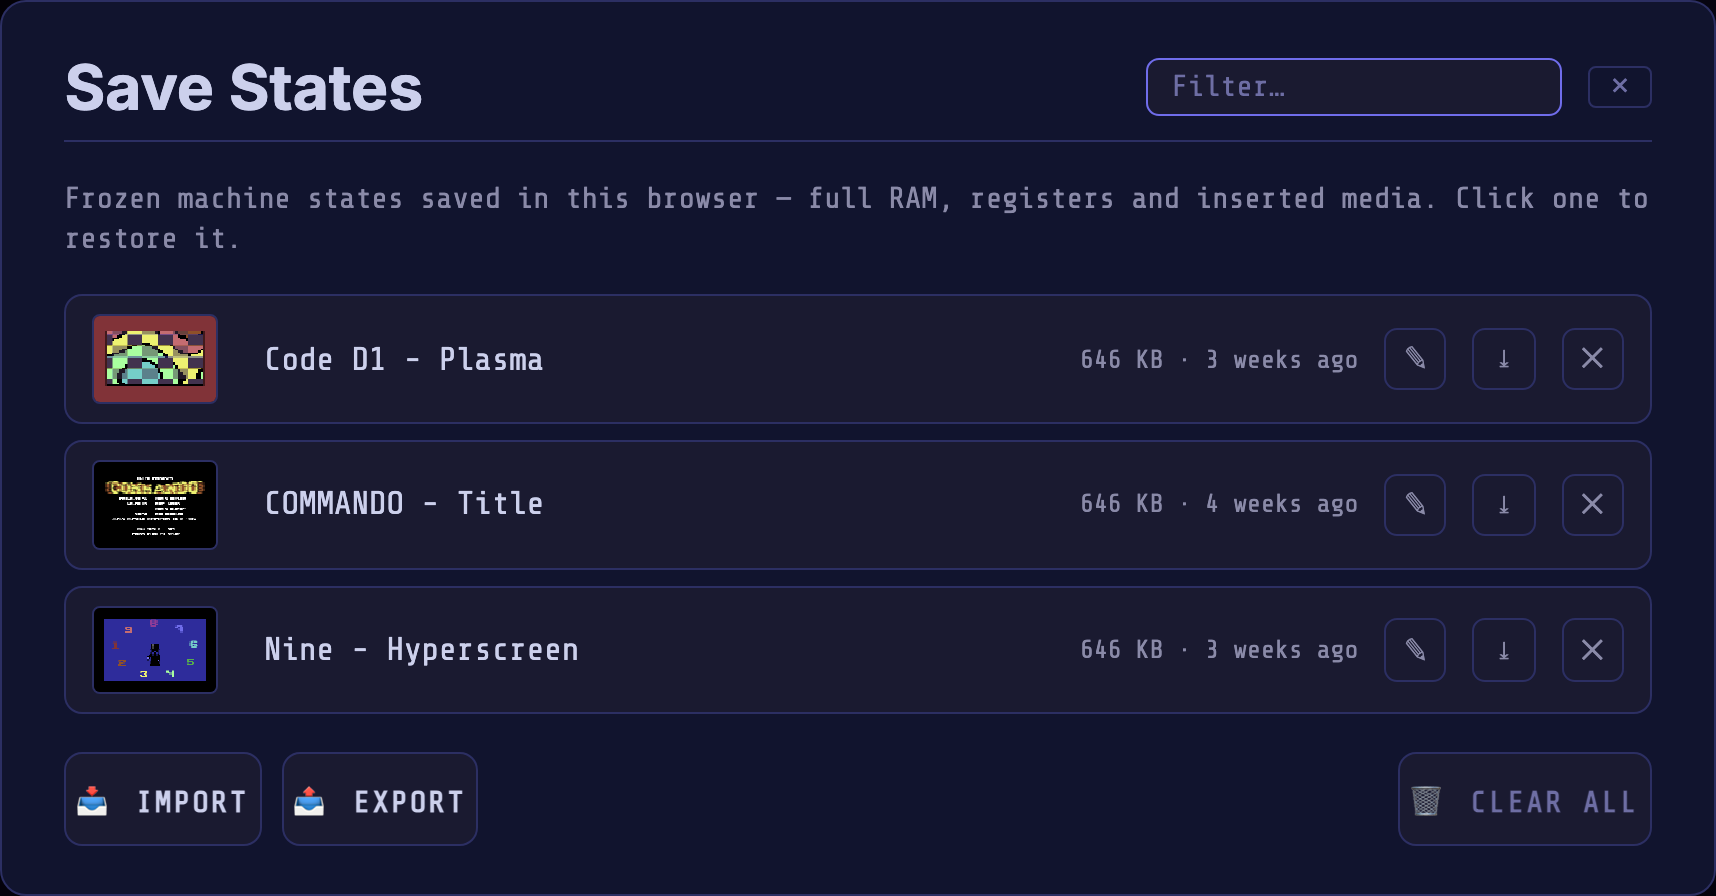
Opened with 📂 LOAD STATE. Frozen machine snapshots (full RAM, chip registers and inserted media) saved in this browser. Each row carries a thumbnail of the frozen frame, the state's name and how long ago it was saved.
Restoring makes the machine become the snapshot, so its media replaces whatever is inserted now, the expansion port included. A state saved without a cartridge therefore removes the one you have in: its ROM would land under a program that never ran with it there. If that happens, put the cart back from the Library, or save states with the cartridge already inserted, so it comes back on its own.
| Control | What it does |
|---|---|
| Filter… | Narrows the list by save-state name as you type. |
| List item | Click to restore that state. From the keyboard the list is one Tab stop: ↑ / ↓ move between states, ← / → reach a state's ✎, ⤓ and ✕, and Enter restores. |
| ✎ (on a row) | Renames that save state. |
| ⤓ (on a row) | Downloads that single state as a .c64state file; bring it to another browser or machine and pull it back in with 📥 IMPORT. |
| ✕ (on a row) | Deletes that save state. |
| 📥 IMPORT | Imports state files (.c64state, .c64states, .json). |
| 📤 EXPORT | Exports your saved states to a file. |
| 🗑 CLEAR ALL | Deletes every save state (asks first). |
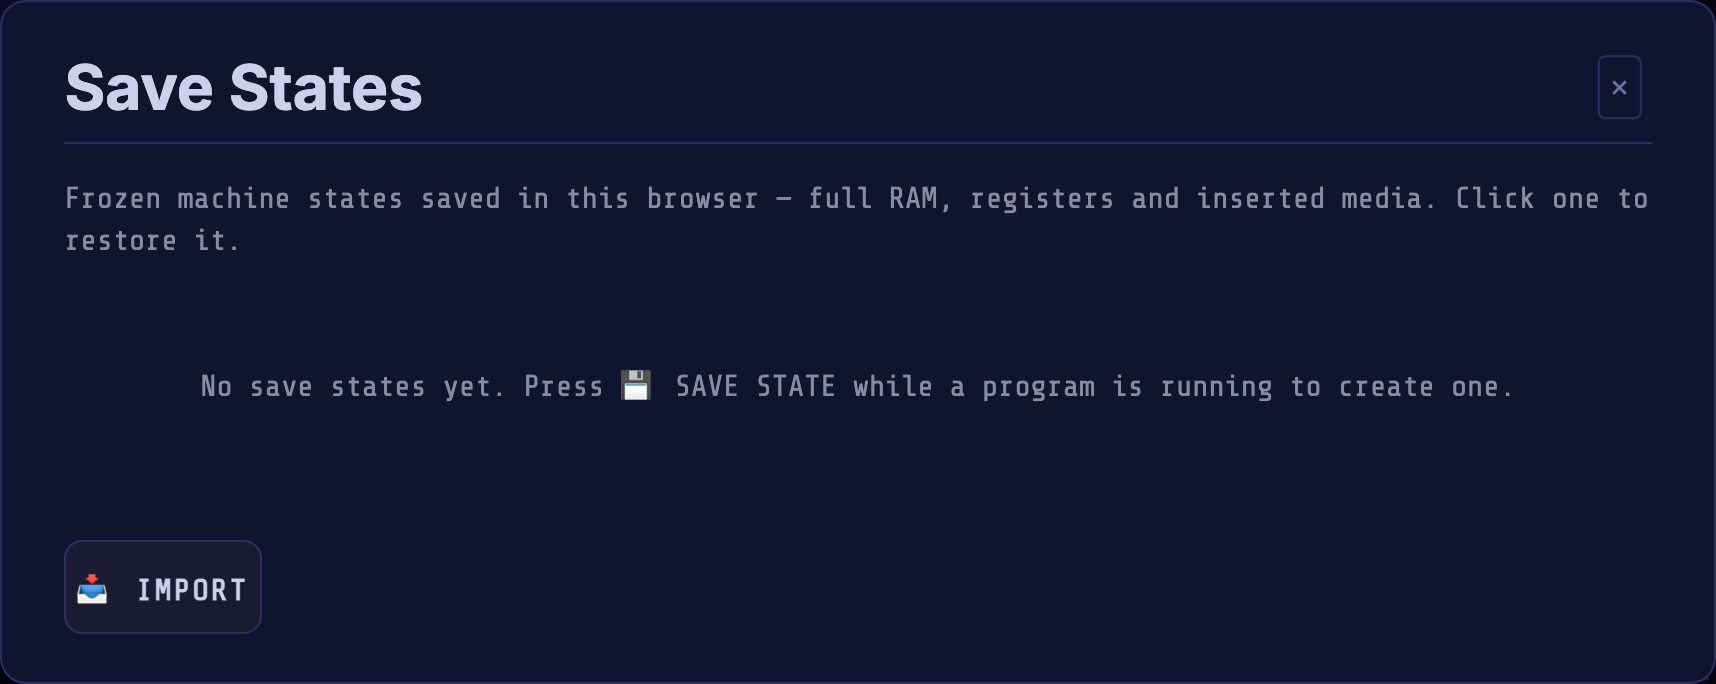
Create a state with 💾 SAVE STATE while a program is running. Until then the dialog is empty, with just an IMPORT button:
Library dialog#
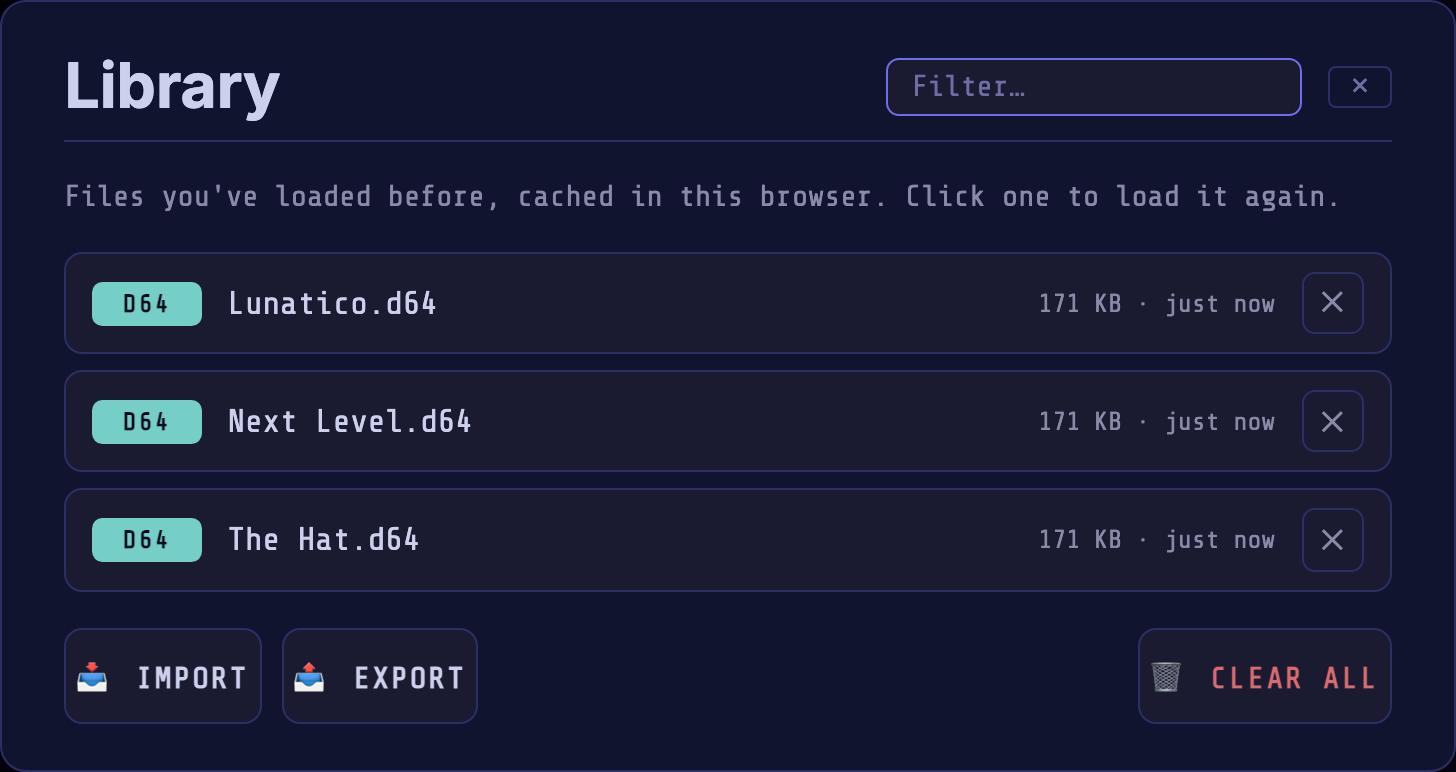
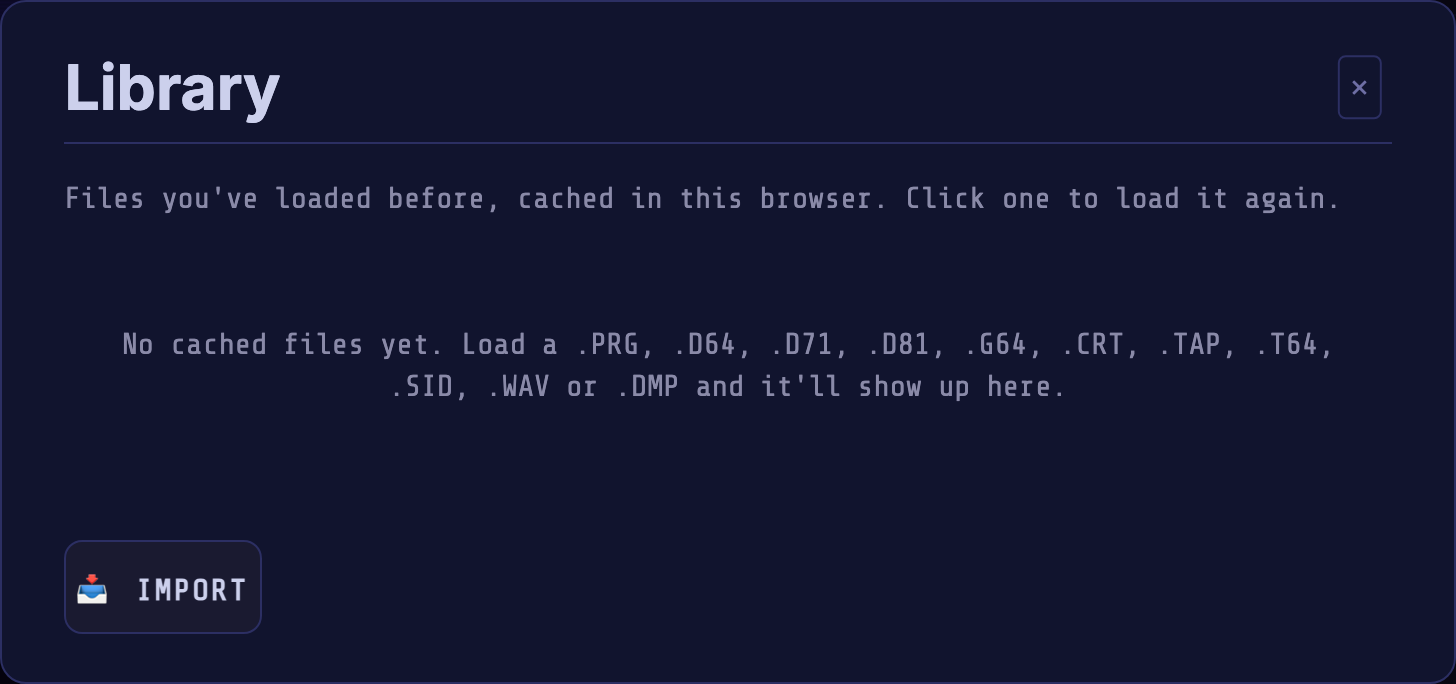
Opened with 📂 LOAD LIB. Every .PRG / .D64 / .CRT / .TAP / .T64 / .SID / .WAV / .DMP you open is
cached here so you can reload it without picking it from disk again. Each row is
tagged with its file type and shows the name, size and when you loaded it.
A .WAV is the exception: cassette audio is around twenty times the size of the
tape it encodes (a six-minute side runs to some 17 MB against 700 KB), so the
recording itself is not kept. It is converted to a tape as it loads, and that
.TAP is what lands in the library. A .DMP dump is converted the same way,
and lands as its .TAP too.
Assembly64 can save PRG, D64, CRT, TAP and REU files here, including supported media selected from ZIP archives. Saved files can be loaded again offline.
| Control | What it does |
|---|---|
| Filter… | Filters the list by name. |
| List item | Click to load that file again. From the keyboard the list is one Tab stop: ↑ / ↓ move between files, ← / → reach a file's ✕, and Enter loads. |
| 📥 IMPORT | Imports a .rdy library archive. |
| 📤 EXPORT | Exports your library to a .rdy file (to move it to another browser / device). |
| 🗑 CLEAR ALL | Removes every cached file (asks first). |
Before you've loaded anything the list is empty, with just an IMPORT button:
Disk drive 8#
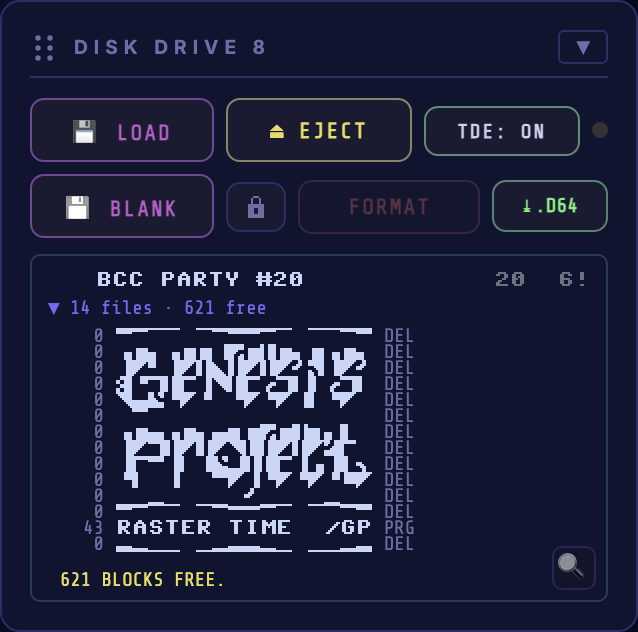
The primary 1541 floppy drive (IEC device 8).
| Control | What it does |
|---|---|
| 💾 LOAD | Inserts a .d64, .d71, .d81 or .g64 disk image (or drop one on the screen); a .nbz nibbler dump becomes a .g64 on the way in. A .prg works too; see Loading a .prg. |
| 💾 BLANK | Inserts a blank, unformatted disk (shows 0 blocks free). Format it (with FORMAT, or from BASIC with N:name,id) before you can save to it. |
| ⏏ EJECT | Removes the disk. |
| 🔒 / 🔓 | Write-protect toggle. Loaded disks start protected (🔒); click to allow the drive to write (🔓). A freshly inserted blank disk starts writable. |
| 🧹 FORMAT | Erases the inserted disk to an empty format (asks for a name). Disabled while the disk is write-protected (🔒). Formatting a .g64 replaces it with a standard blank .d64; D71 and D81 retain their formats. |
| ⤓ .D64 | Downloads the disk, with your changes, as a .d64 file; for other disk formats the button reads .D71, .D81 or .G64 and downloads one. Enabled once the disk has changes to save; disables again after you export. |
| TDE: OFF / ON | With True Drive Emulation on, the real 1541 handles LOAD over the IEC bus, needed for custom fastloaders. With it off, a built-in drive serves the disk image directly: LOAD is instant, and files, the directory, the command channel and SAVE work through the KERNAL, but loaders that drive the hardware themselves won't. Remembered between sessions. |
| Drive LED | Lights while the drive is active. |
| ▼ n files | Expands the directory: disk name, blocks free, and the file list. It updates itself when the running program changes the disk. Click a PRG or USR row to load and run that file; SEQ and REL rows are data, so they stay dim. From the keyboard, Tab into the list, use ↑ / ↓ and press Enter. |
| 🔍 | Opens the Directory zoom viewer: enlarged, filenames only, so PETSCII directory art reads clearly. |
When you need TDE. True Drive Emulation runs a real 1541 on the bus. You
need it for .g64 and .nbz images (raw tracks; it turns on by itself) and
for fastloaders and copy protections that drive the hardware directly. You do
not need it for LOAD, SAVE, files, the directory or the command channel on
a .d64, .d71 or .d81: with TDE off a built-in drive serves those from the image
instantly, where TDE loads at the real drive's speed, and it needs no 1541
ROM. D71 and D81 always use the built-in drive.
When in doubt, try TDE off first and turn it on if a disk does not load.
Loading with TDE off. When the 1541 ROM is available, loading a .d64
asks whether to turn TDE on before inserting the disk. Turn TDE on enables it
for that drive and remembers the setting; Keep TDE off continues loading
with it off. This applies to the drive's LOAD picker, LOAD ANY, drag-and-drop,
Library and Assembly64. No prompt appears when TDE is already on or the drive
ROM is missing.
Raw disk images. A .g64 holds every track exactly as the original floppy
recorded it, half-tracks and non-standard layouts included, so copy protections
that check the disk surface pass as on a real 1541. It needs TDE, so inserting
one turns TDE on for that drive when the 1541 ROM is available; without the
ROM, the built-in load can only serve the standard sectors it finds on the
disk. The directory, click-to-load and export work as for a .d64. A .nbz
nibbler dump becomes a .g64 on the way in and is kept as one.
1571 disk images. A .d71 holds two sides, 70 tracks and 1328 free blocks.
It uses the virtual drive: insertion turns TDE off for that device. LOAD, SAVE,
files and block commands work on both sides; formatting and export keep D71.
Loaders that require 1571 hardware are unsupported.
1581 disk images. A .d81 is a 1581 disk: 80 tracks, 3160 blocks free
when empty, the same LOAD commands. A 1541 cannot read one, so the emulator
serves it directly: inserting a .d81 turns TDE off for that drive, and it
stays off after you eject. The directory, click-to-load, FORMAT and export
work as for a .d64, and programs SAVE to it and use its command channel
as on a 1581.
Writing to disk. The drive writes back to the .d64, .d71 or .d81, through its supported drive path: SAVE a program, scratch
or rename a file, and the change lands on the disk. Writing needs the disk unlocked
(🔓); loaded disks are protected until you allow it. Modified disks auto-save to
your browser Library so they survive a reload, and the ⤓ .D64 button enables so
you can download a copy; it goes quiet again once you have.
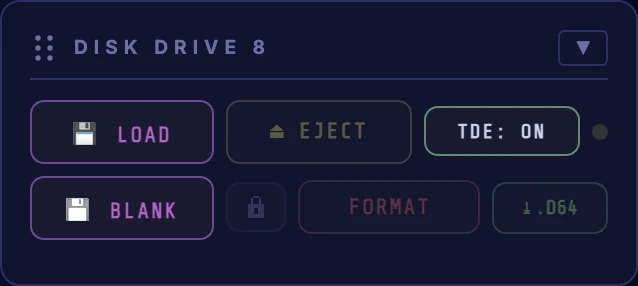
Before a disk is inserted the card shows a hint and only LOAD and BLANK are active:
Loading a .prg#
With a 1541 ROM loaded, a .prg is written onto a disk of its own in drive 8.
It loads like anything else, shows up in the directory, and can be exported as
a .d64. Inserting the disk keeps the machine running, and the TDE setting
applies as usual.
Nothing on that disk needs the real drive, so with TDE on, loading a .prg
offers to switch it off and load at once. Declining lasts until you reload the
page or switch TDE on again.
The disk arrives write-protected. Flip the tabs to SAVE onto it.
With AUTORUN on, BASIC programs and machine-code programs with a BASIC
SYS stub start through RUN. Other machine-code PRGs are left at READY.;
the status line suggests a SYS address, but the program's instructions are
the authority for its entry point.
Without a 1541 ROM, the program loads directly into RAM. This fallback resets
the machine first unless it is still at a fresh boot. With AUTORUN on, it
uses RUN for a program loaded at $0801, or SYS at the load address otherwise.
A .prg that loads over $D000 to $DFFF is a memory image, which a LOAD
would write into the I/O chips, so it goes straight into RAM after a reset,
and the status line says so. One that loads over the IRQ vector at $0314
starts itself.
Disk drive 9#
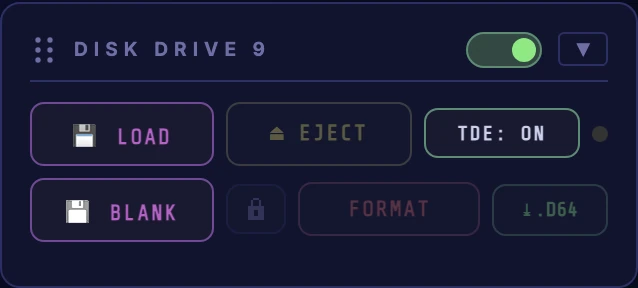
An optional second drive (IEC device 9), off by default and invisible to the C64 until you switch it on. It reads, writes, and formats just like drive 8.
| Control | What it does |
|---|---|
| Power switch | Connects / disconnects device 9. Turning it on opens a confirmation dialog first (see the warning below). |
| 💾 LOAD / 💾 BLANK / ⏏ EJECT | Insert / insert-blank / remove a .d64, .d71, .d81, .g64 or .nbz as device 9. |
| 🔒 / 🧹 FORMAT / ⤓ .D64 | Write-protect toggle, format, and export, the same as drive 8. |
| TDE: OFF / ON | True Drive Emulation for device 9 (needs the 1541 ROM); off, the built-in drive serves it. |
Loading a .d64 with TDE off offers to enable it for drive 9, using the same
prompt as drive 8. The choice affects only the selected drive.
A .d71 or .d81 turns TDE off for drive 9, as it does for drive 8.
⚠️ A second drive on the bus can crash fastloader demos and games. When you flip the power switch on, a confirmation dialog appears: "Demos might not work when disk drive 9 is active" (Turn on to proceed, or decline to revert). This is not a formality: many custom fastloaders drive the IEC bus with cycle-exact timing and assume they are the only device on it. A connected drive 9 changes the bus timing and can make such a loader hang, glitch, or crash outright, even the disk running from drive 8. Only turn drive 9 on when you specifically need two drives, and turn it back off before loading a fastloader-based title.
Cartridge#
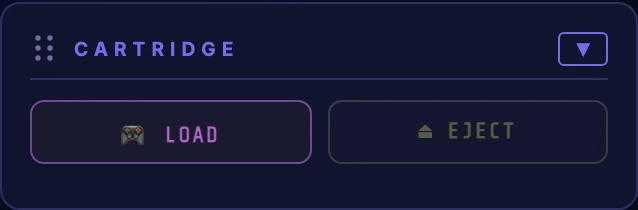
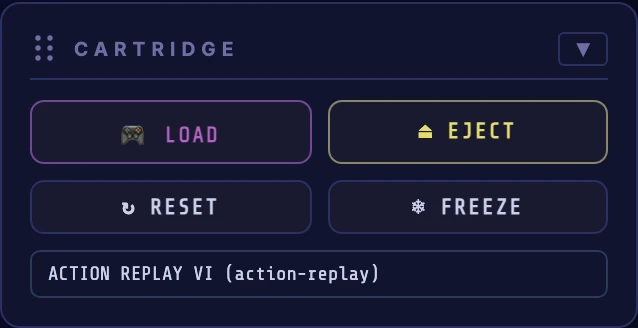
| Button | What it does |
|---|---|
| 🎮 LOAD | Inserts a .crt cartridge image (or drop one on the screen). |
| ⏏ EJECT | Removes the cartridge. |
| ↻ RESET | On cartridges that provide it: presses the cartridge's reset button while preserving C64 RAM. |
| ❄ FREEZE | On freezer cartridges that provide it: presses and releases the physical freezer button. |
RESET and FREEZE are capability-driven: they are shown only for inserted cartridges that provide those controls (Action Replay and Final Cartridge III). They remain visible but disabled while the C64 is powered off.
RAM Expansion#
A Commodore RAM Expansion Unit, the box that plugs into the expansion port and
gives the C64 a bank of extra memory. The C64 cannot see that memory directly;
a controller inside the unit shifts blocks between it and normal C64 memory,
about a megabyte a second, with the processor stopped while it works. GEOS and
a good number of demos ask for one. As on the real machine, it shares
$DF00-$DFFF with an Action Replay, Final Cartridge III or EasyFlash
cartridge, and answers there ahead of it.
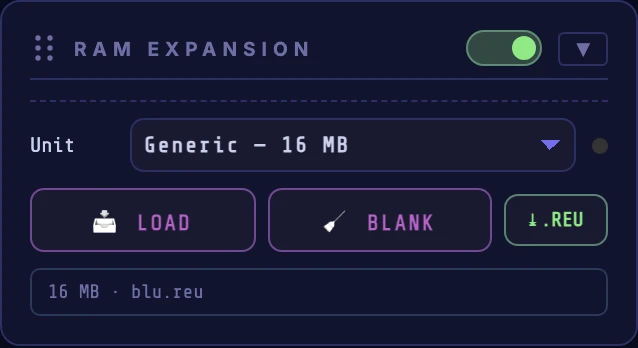
Nothing is fitted until you turn the switch in the card header on. Pick the unit from the dropdown:
| Unit | RAM |
|---|---|
| 1700 | 128 KB, the smallest Commodore unit |
| 1764 | 256 KB, the one sold for the C64 |
| 1750 | 512 KB, the one most software expects |
| 1750 XL | 2 MB, a later third-party expansion |
| Generic | 1, 4, 8 or 16 MB, for demos that ask for more |
Software can tell these apart, so a title that wants a 1750 may refuse a 1700. If you don't know which to pick, leave it on the 1750.
The lamp beside the dropdown is the same one the disk drives use: it lights whenever the expansion is moving data. Transfers are far too quick to see, so it stays lit for a moment after each one.
| Button | What it does |
|---|---|
| 📥 LOAD | Fills expansion RAM from a .reu image file. |
| 🧹 BLANK | Wipes expansion RAM back to zeroes. |
| ⤓ .REU | Downloads the current contents as a .reu image. |
You can also drop a .reu straight onto the screen, or pick one with LOAD
ANY in the Load card; both work like the card's own LOAD button. Unlike the
other file types, local expansion loads do not automatically enter the Library.
Assembly64 can save a selected REU image there, and LOAD LIB restores it offline. If no expansion
is fitted, dropping an image fits one; if the image is bigger than the unit you
have, you get the smallest unit that holds it rather than a truncated load.
Changing the unit swaps the hardware, so whatever was in expansion RAM goes with it. The contents are included in save states, so a snapshot taken partway through a demo resumes properly.
A cartridge can stay inserted while an expansion is fitted; on real hardware that combination needs a port expander. Two limits:
- Action Replay, Final Cartridge III and EasyFlash use the same corner of the expansion port as the RAM Expansion, so those three don't get along with it; the other cartridges are fine.
- With one of those three, the port holds whichever you insert first: switching the expansion on says so.
Datasette#
A 1530 Datasette for .tap tape images: it reads them, records them, and can
play them out loud.
It also takes .wav recordings of real cassettes (a C64 tape stores its data
as audible pulses, so a recording of one still is the data) and .dmp dumps
from a DC2N, which are pulses already. Either becomes a .tap: that is what
the deck holds and what goes into your Library. Downloading it as .WAV again
re-renders the audio from those pulses, so you get the same data back as clean
square edges, not your original recording.
The buttons#

In the order they sit on the deck:
| Button | What it does |
|---|---|
| 📼 LOAD | Inserts a .tap, a .wav recording or a .dmp dump of a cassette (a .tap can also be dropped on the screen). |
| ⏏ | Removes the tape. |
| 🔒 / 🔓 | The write-protect tabs. Protected blocks the REC key, exactly like a cassette with its tabs broken out. A tape you load arrives protected; a blank one does not. |
| ⤓ .TAP | Downloads the tape as a .tap file, recording and all. |
| ⤓ .WAV | Downloads the tape as audio. Play it into a real C64 and it loads. |
| 📼 BLANK | Inserts a fresh blank tape to record onto, after asking you to name it (up to 12 characters). |
| ⏹ STOP | Releases whichever key is down. |
| ⏮ START | Jumps straight back to the start of the tape, instantly and with no winding. The one button a real 1530 doesn't have. |
| ▶ PLAY | Presses PLAY. In BASIC, type LOAD then press PLAY and the machine reads the tape. |
| ⏺ REC | Presses RECORD. SAVE"NAME",1 from the C64 then writes to the tape. RECORD engages PLAY with it, so both keys light up; that is the mechanism, not a glitch. |
| ⏪ REW / ⏩ FF | Hold to wind, let go to stop. They release themselves if the tape reaches an end. |
The bar#
The bar shows tape position and turns red while recording; the dot beside it lights when the motor runs; the three-digit counter and the timer track the tape. It is also a scrubber: click or tap anywhere on it to move the tape there, drag along it to hunt, and hover first to preview: the timer shows the tape time under your pointer without moving anything. With the bar focused, ← and → step by 2 % (hold Shift for 10 %), and Home and End jump to the ends.
A tape under a pressed key is moving past the head, so the key comes up first: clicking while it plays means stop here, and while it records it means stop, keep what was written, and move. Scrubbing is refused while RECORD is engaged; a real deck can't move the head mid-write either.
Saving to tape#
Press 📼 BLANK, then ⏺ REC, then SAVE"NAME",1 in BASIC. Recording is
instead of playing: the tape is written from wherever the head is and anything
past that point is overwritten, as a real head erases as it goes. When you're
done, ⏹ STOP and ⤓ .TAP to keep the file; a recorded tape is also
folded into the Library automatically, so a reload doesn't lose it.
Winding#
A real datasette's motor is switched by the C64, not by the deck, so REW
and FF only move tape while the machine has the motor line on. The KERNAL
turns it on as soon as a key goes down (a freshly pressed key starts the tape
by itself at the READY. prompt), but right after a load the deck sits parked
even with PLAY still latched, until the key is released. The one liberty taken:
the wind keys run only while held, where a real deck latches them until STOP.
Restoring real cassettes#
Point the deck at a transfer of a 1980s cassette and it recovers the tape, damage and all, then mends what the tape can prove: the readings a transfer offers (the other channel of a stereo recording, the treble lifted, a standard tape's second copy) are played against each other until two agree and the file's own checksum passes. Nothing is invented: a file that cannot be proved is left alone and struck through in the listing. On the eight worn cassettes this was built against, it went from 66 of 129 programs loading to 121 of 130. The full method is on the Datasette architecture page.
It takes a while (a 30-minute side is a few hundred megabytes of audio, read several times over); a dialog says which pass it is on, and the emulator keeps running behind it. The Status card reports what came out: how long the tape was, how many files, and whether any needed mending.
Hearing and seeing the signal#
🔊 beside the card title plays the tape out loud, the real signal the head is reading, not a sound effect. A loader sounds like a loader.
The scope to its left draws that same signal instead of playing it: a C64
tape is a square wave, so the trace is the signal itself, read from the
.tap entries passing under the head, pulse for pulse.
Both are greyed out until there is a tape in the deck and the machine is on, since until then there is no signal to hear or see.
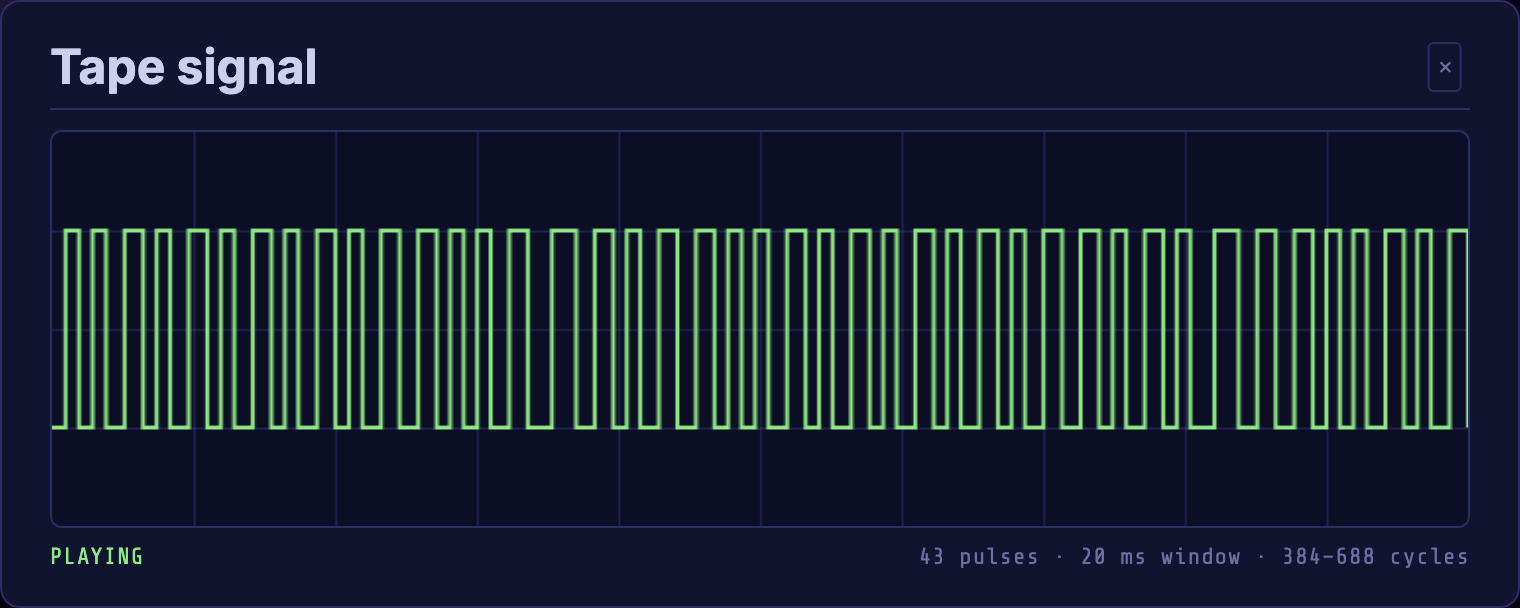
The window is about 20 ms of tape, and the readout under it says what the deck is doing and what has just gone past: how many pulses, and the shortest and longest of them in C64 cycles. A KERNAL tape settles at 384, 528 and 688, the three widths the format is built from; a turbo tape uses two much shorter ones. The scope is independent of the speaker, works while recording (there the trace is what has just been written), and a deck that is not moving draws a flat line.
What is on the tape#
🔍 at the end of the tape's info row lists the tape's contents. A .tap
carries no directory, so the tape is read the way the C64 reads it and the
file headers are picked out (on the press, in a few milliseconds).
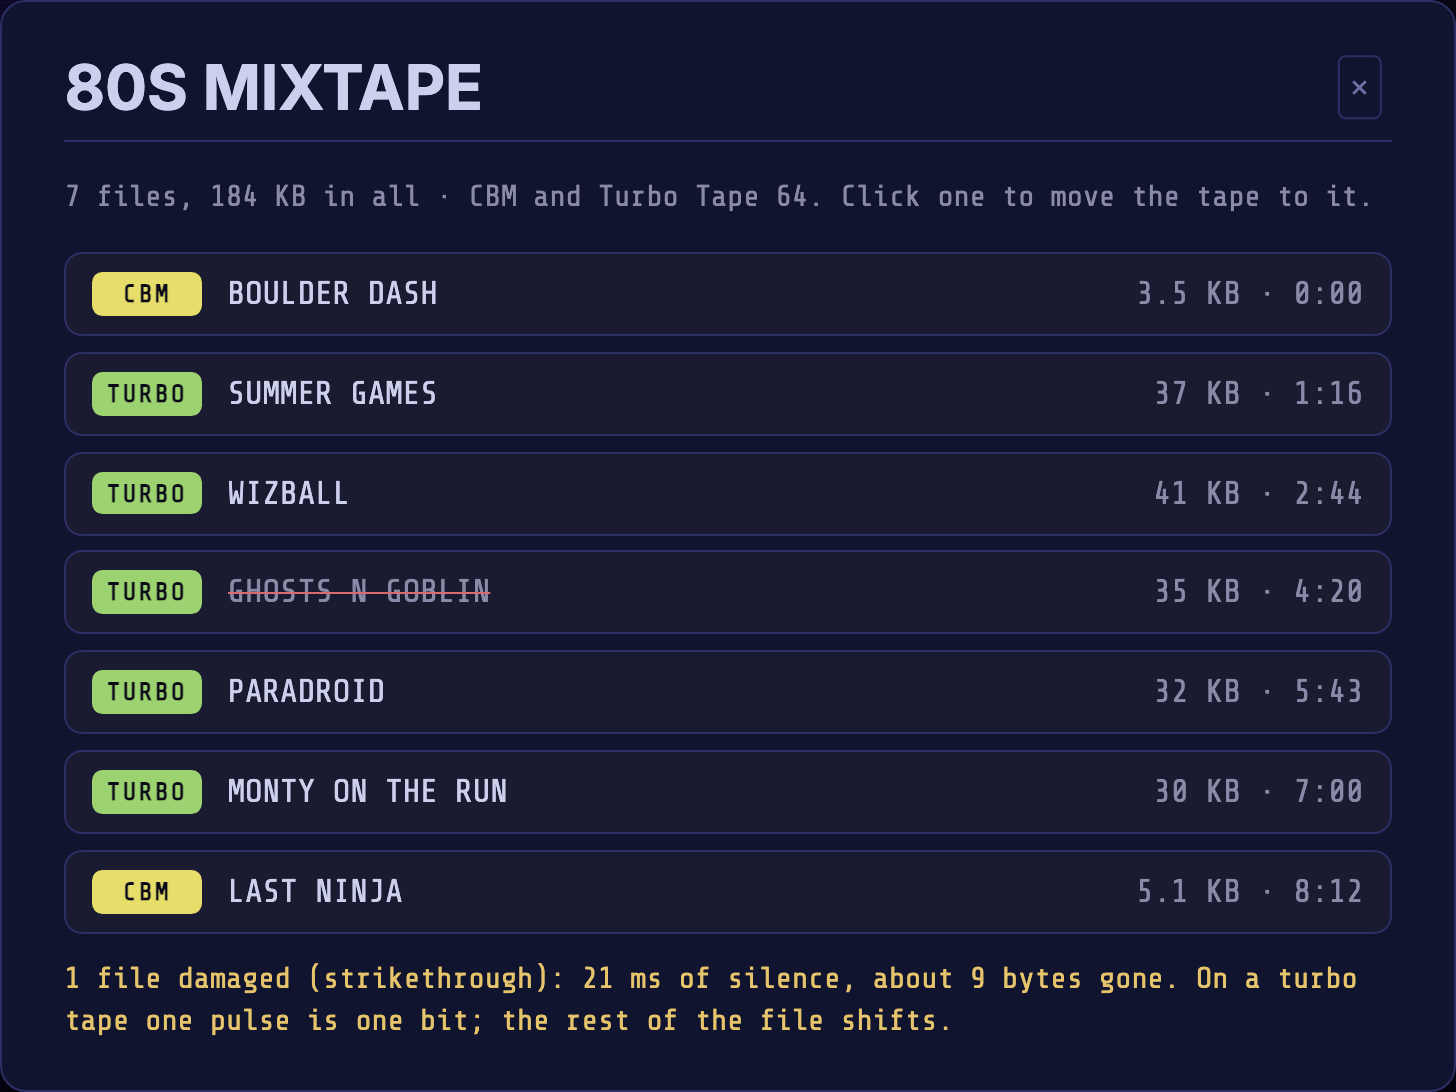
The listing is laid out like the Library: a row per file with the format it was written in, its size, and the time it starts. Click a row to wind the tape to that file: the head lands at the start of its lead-in, ready for the loader. A filename struck through could not be read whole: the file stays in the listing and the head can still be wound to it, but it will not load. Hover it to see why; the note under the list counts them and says what was mended on the way in. Turbo tapes are read too, in the formats the Datasette architecture page lists; a tape written by a loader that isn't known yet says so rather than listing anything.
Playing a .sid tune#
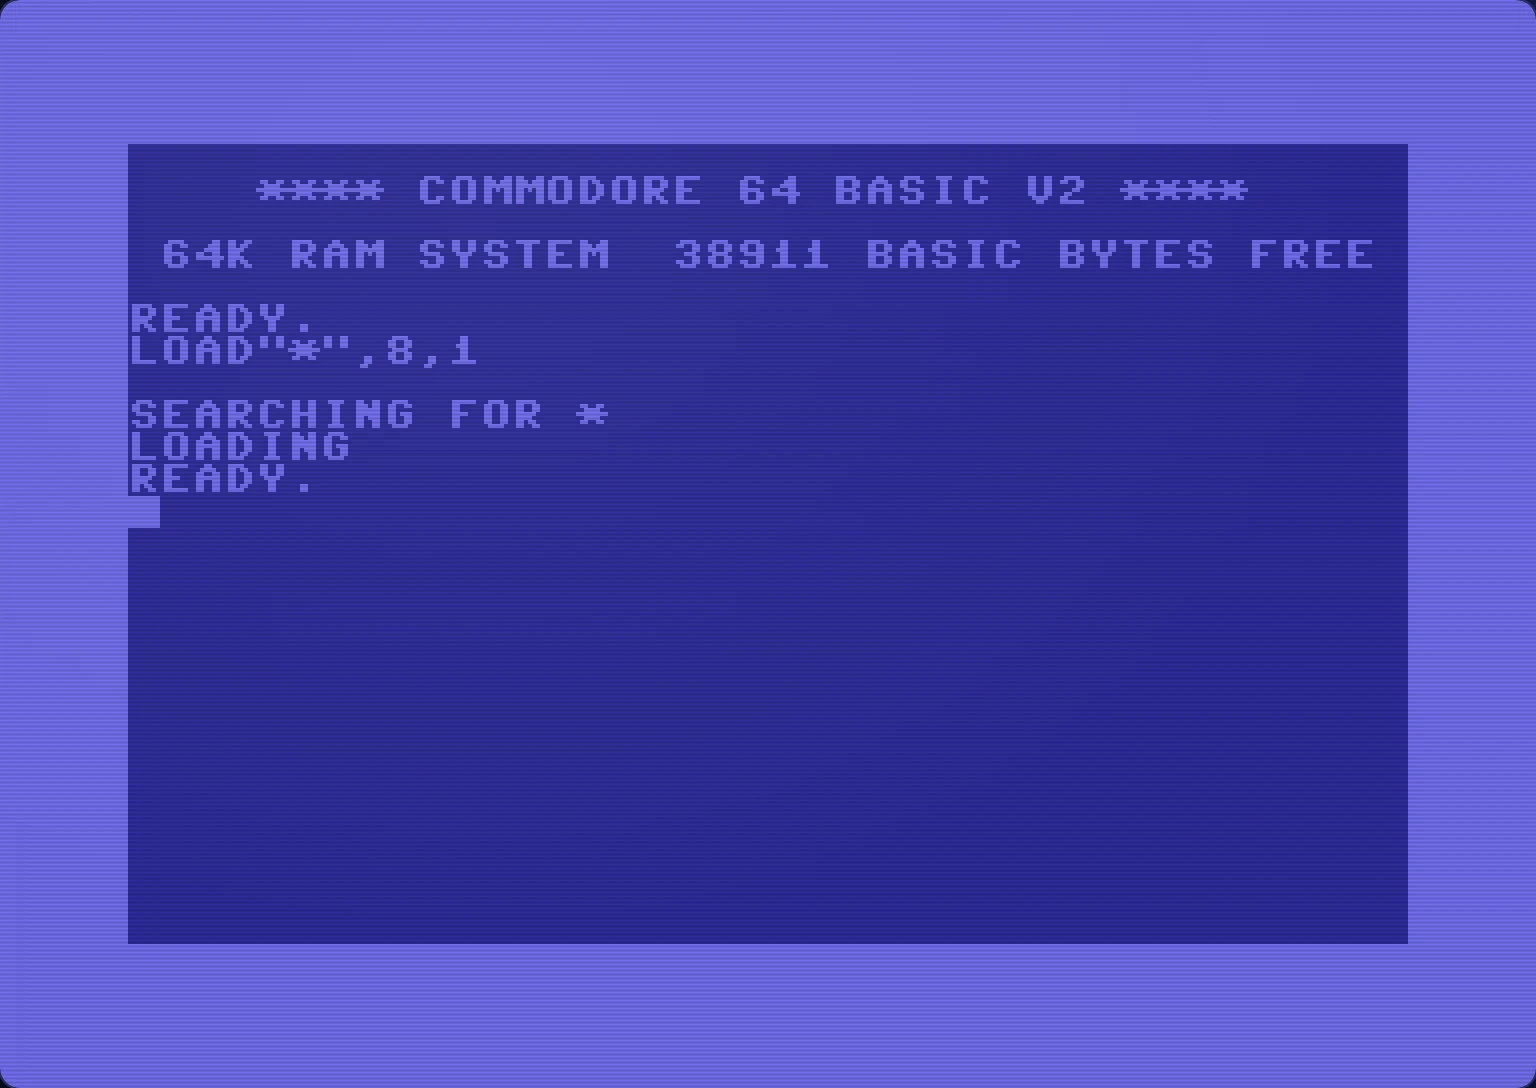
A .sid is a tune, not a program — so it is wrapped in one. The file arrives
with a player written in 6502 in front of it, and the C64 runs the tune's own
driver on the real chip, which is why tunes timed by CIA interrupts, by the
raster, or playing digi samples all work the same way they do on hardware.
The player draws its own screen. The title, author and year come out of the file's header, along with the chip the tune was written for and its clock; an NTSC tune is flagged in red, because this machine is PAL and it will run about 17% slow. The oscilloscope is voice 3, the one voice a program on a real C64 can read back.
| Key | |
|---|---|
1–9, 0 |
Pick a song. |
+ / - |
Step through the songs, wrapping at either end. |
SPACE |
Pause and resume. |
F7 |
Start the song again. |
F1 |
Switch between the two views. |
F1 shows all three voices — waveform, frequency and ADSR each, plus the
filter and volume. None of that is readable on real hardware, so the player gets
it by catching the driver's writes before they reach the chip, and a tune that
plays digi samples will not survive the trick. If a tune sounds wrong in this
view, press F1 to go back. Tunes marked RSID — files that say they need a
real C64 — start in the safe view for that reason.
Switching into the three-voice view starts the song again, because what the driver set up before the switch was never seen.
Two-SID tunes ask to enable or readdress SID2 when needed. Confirm to play; cancel leaves playback and settings unchanged. They use Safe view with two half-height scopes and separate ENV 3 bars, SID 1 above SID 2, with no F1 voice view. Hardware choices last for the session.
Assembly64#
Explore the C64 demoscene: demos, intros, music, graphics, diskmags and the people who make them. Find a production by title, browse a group's releases, or discover something new in the catalog.
Assembly64 starts expanded at the top of the right column. Media load starts below Control Ports in the left column; saved panel arrangements take precedence.
Quick search#
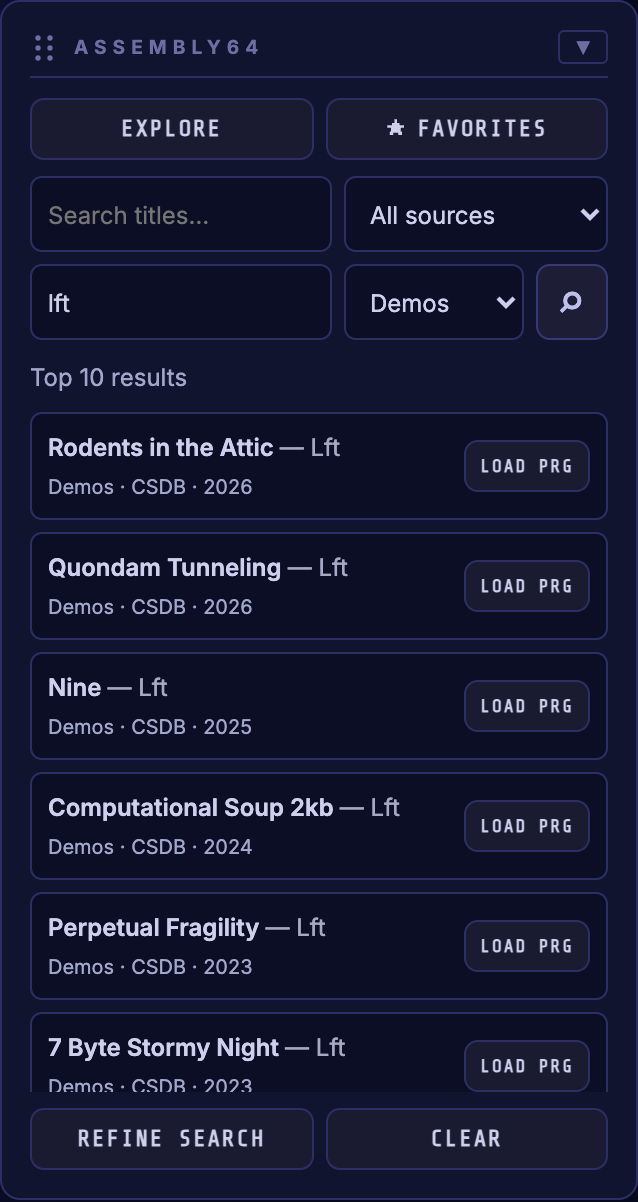
- Enter a production title, a Group / producer, or both. For example, enter
lftin Group / producer to explore that creator's demos. - Narrow the search with Source and Type. Demos is selected initially; choose Intros, Music, Graphics or another available category to explore more.
- Press Enter or the search icon to show up to ten results.
- A single supported file offers LOAD D64, LOAD CRT, LOAD TAP, LOAD REU or LOAD PRG. Click the title or producer to see all files.
- REFINE SEARCH transfers the current search to the browser. CLEAR clears the results and restores the quick-search defaults.
Explore and refine#
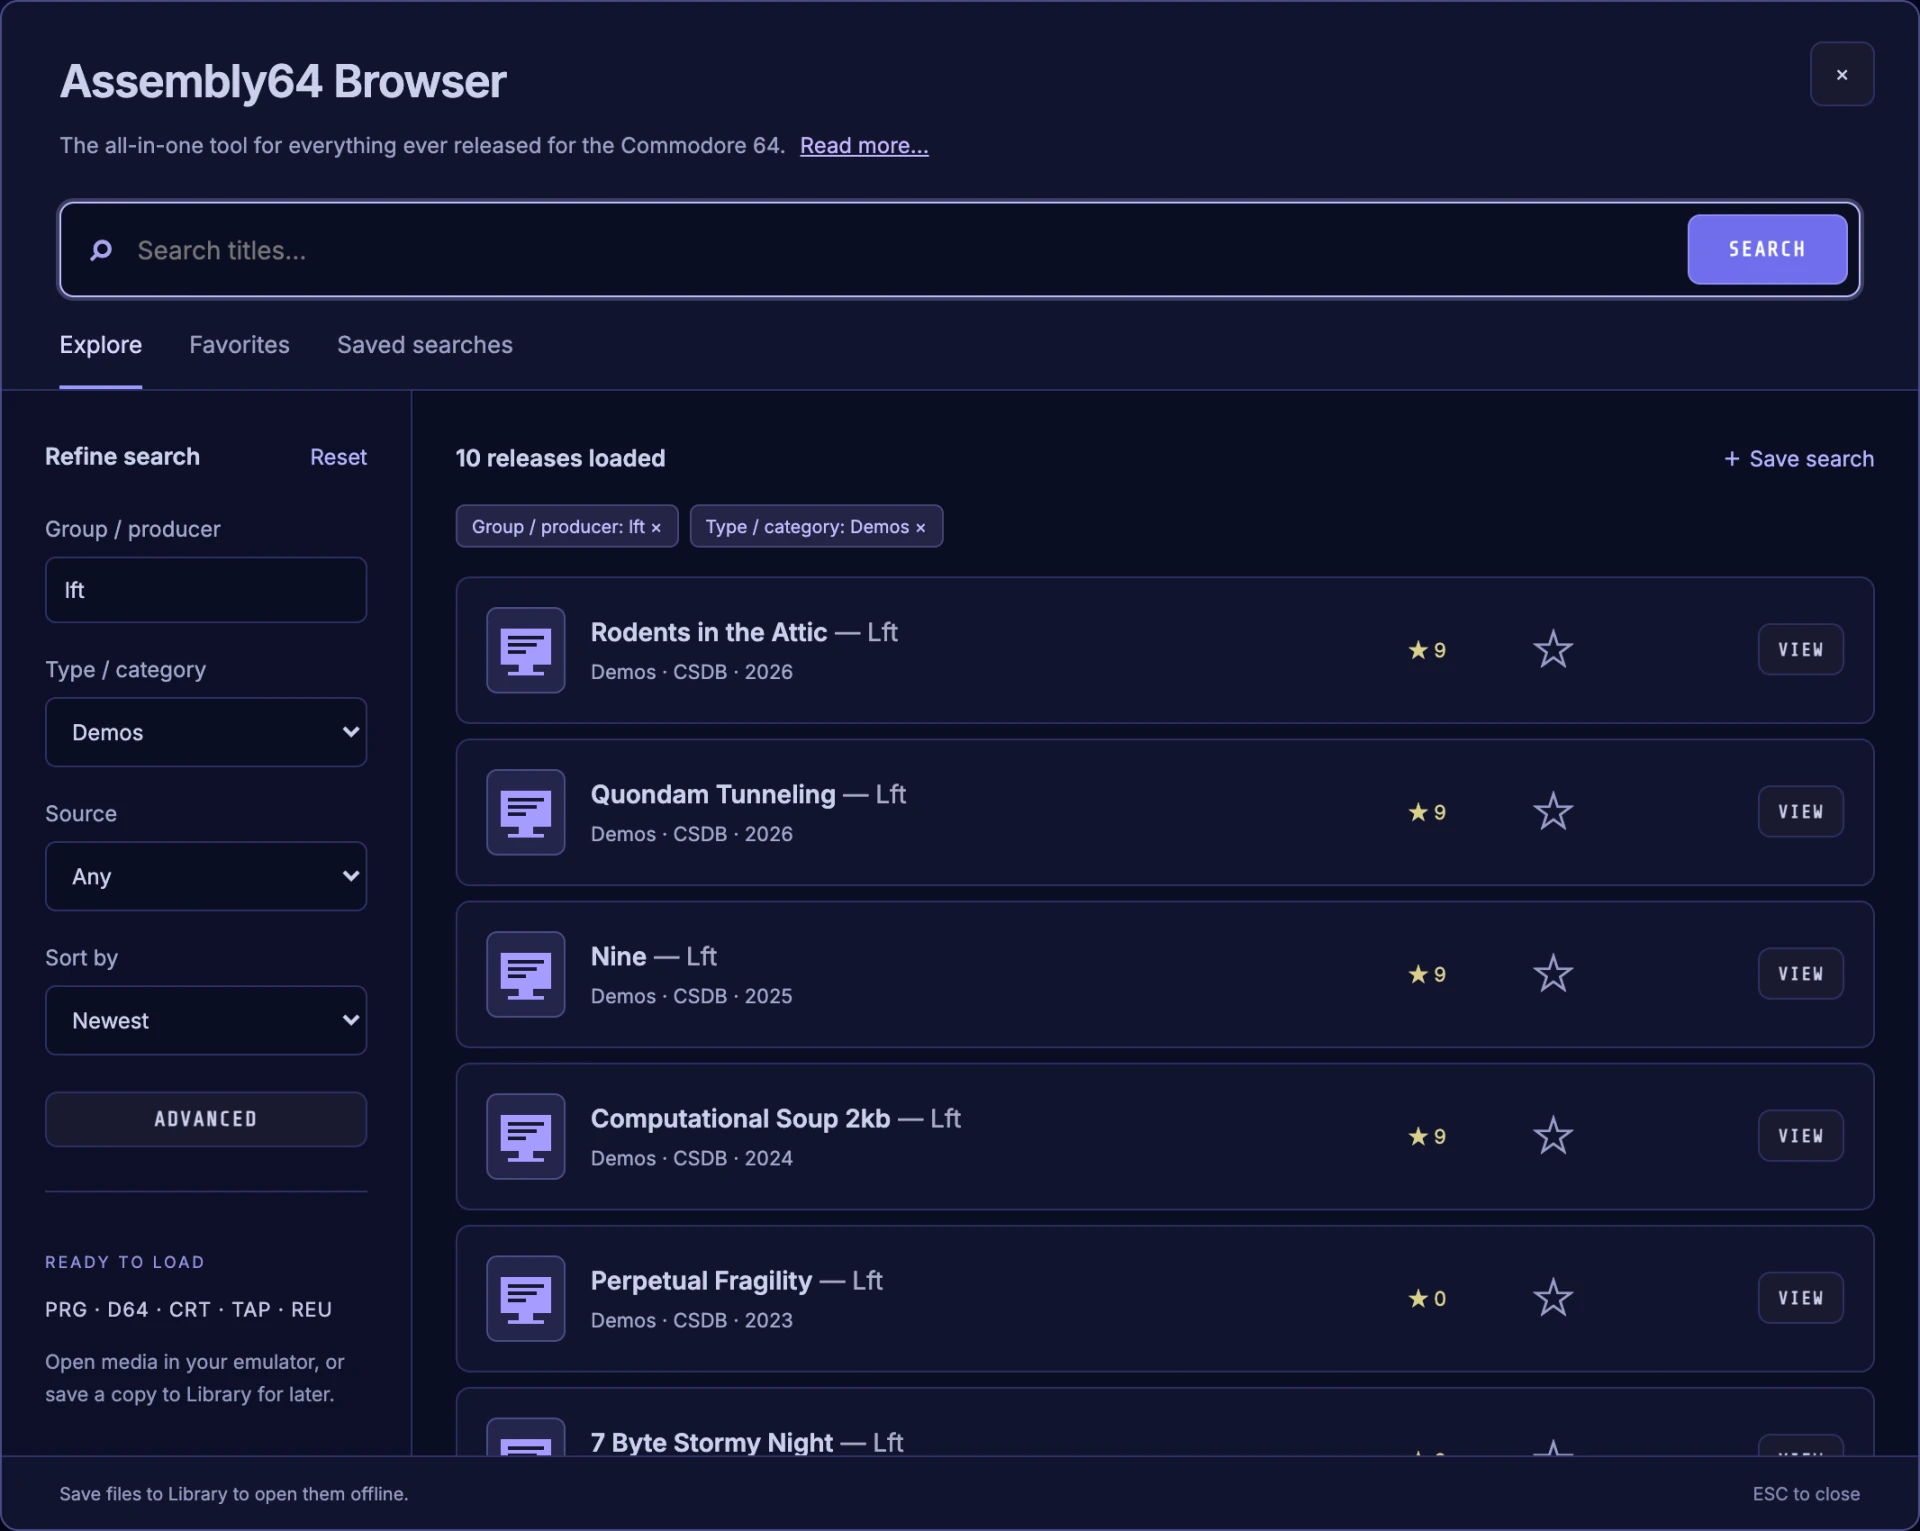
- EXPLORE opens the Assembly64 Browser with Demos sorted by Newest. It starts independently of the quick search.
- Search by title or group/producer, then adjust type, source and sorting.
- ADVANCED provides additional supported filters. It shares the browser's search state; SHOW RESULTS applies the filters and Reset clears them.
- LOAD MORE adds ten results.
- Tab moves through the control and dialogs. A list of results is a single Tab stop: ↑ / ↓ move between results, ← / → between a result's buttons, Home / End to the first or last. Escape closes the top dialog. Typing in either quick text field stays there; clicking other quick controls returns keyboard input to the emulator. When a field or dialog owns input, the screen shows "Click screen to capture keyboard." alongside the drop-files hint.
Charts#
- Charts in the browser lists the top-rated demos, one-file demos, games, music, graphics or tools, ranked by the average of CSDb visitors' votes. Pick a chart above the list; each release opens and loads as it does in Explore.
Favorites and saved searches#
- Use a production's star to bookmark it. FAVORITES opens your bookmarks independently of the quick search.
- Name and save a search to return to a group's demos, intros or music later.
- Favorites and named searches are stored in this browser, with no account required. A favorite does not store the media offline.
Loading and saving#
Open a production's details to see its complete file list.
- DOWNLOAD saves a file to your computer, including unsupported formats.
- LOAD opens compatible PRG, D64, CRT, TAP and REU files in the emulator. SID and unsupported disk formats are available for download.
- SAVE TO LIB stores compatible files in Library. Files already there show SAVED IN LIB, and LOAD opens them from Library instead of downloading them again. DOWNLOAD always fetches a fresh copy, and a ZIP is always downloaded so you can choose from it.
- D64 files default to drive 8, write protected, following the app's autorun setting. Choose drive 9 or mount only when needed. Loading a disk can offer to enable True Drive Emulation for compatibility.
- ZIP archives offer supported contents to choose from. Only the selected media file is saved to Library.
A successful load closes the dialogs. Download progress fills the file or quick-result card background. A verified original-release link appears when its metadata is available.
Offline use#
- Searches and new downloads need a connection.
- Favorites and named searches remain visible offline.
- Previously saved media opens through LOAD LIB, without a connection.