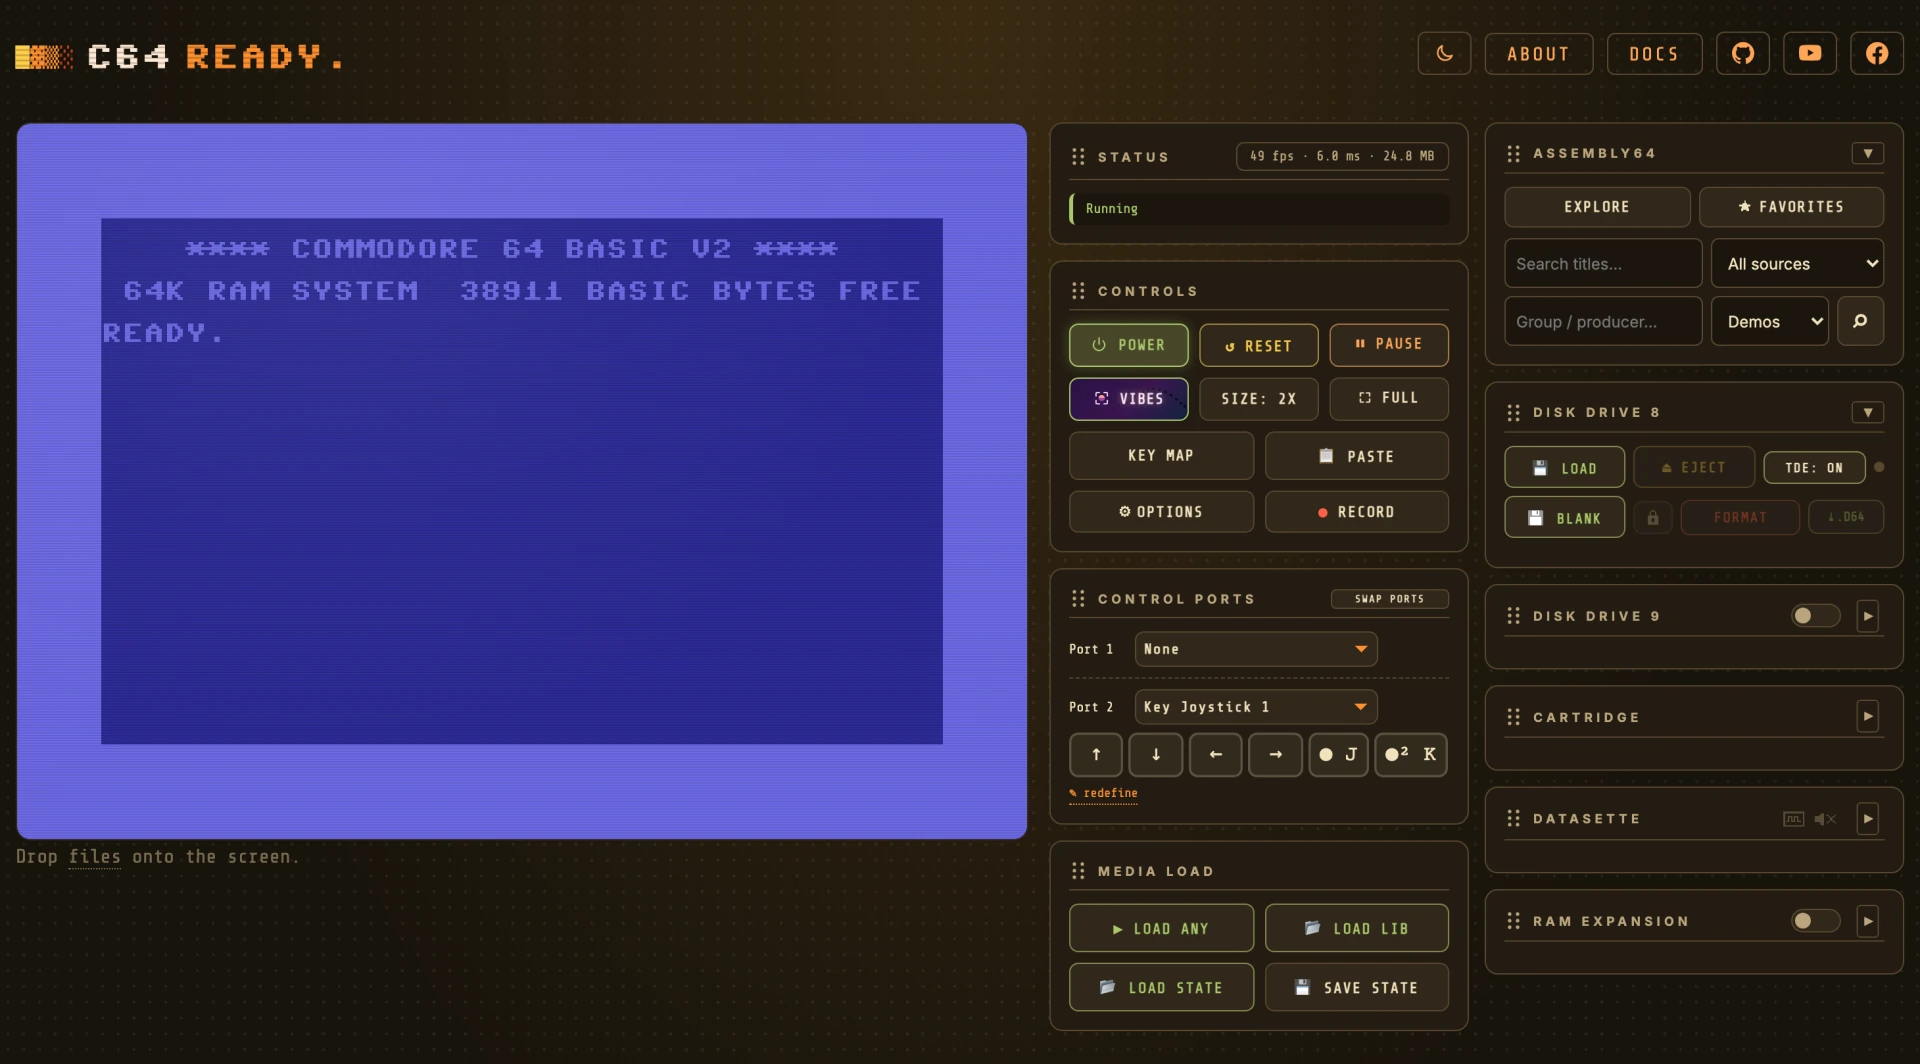
Docs / User Guide
User Guide#
A complete tour of the C64 READY. interface — every panel, dialog and button, and exactly what each one does. If you'd rather follow a step-by-step walkthrough from a blank screen to a running demo, start with Getting Started; for a checklist of what the machine can do, see Features. This page is the reference for the controls themselves.
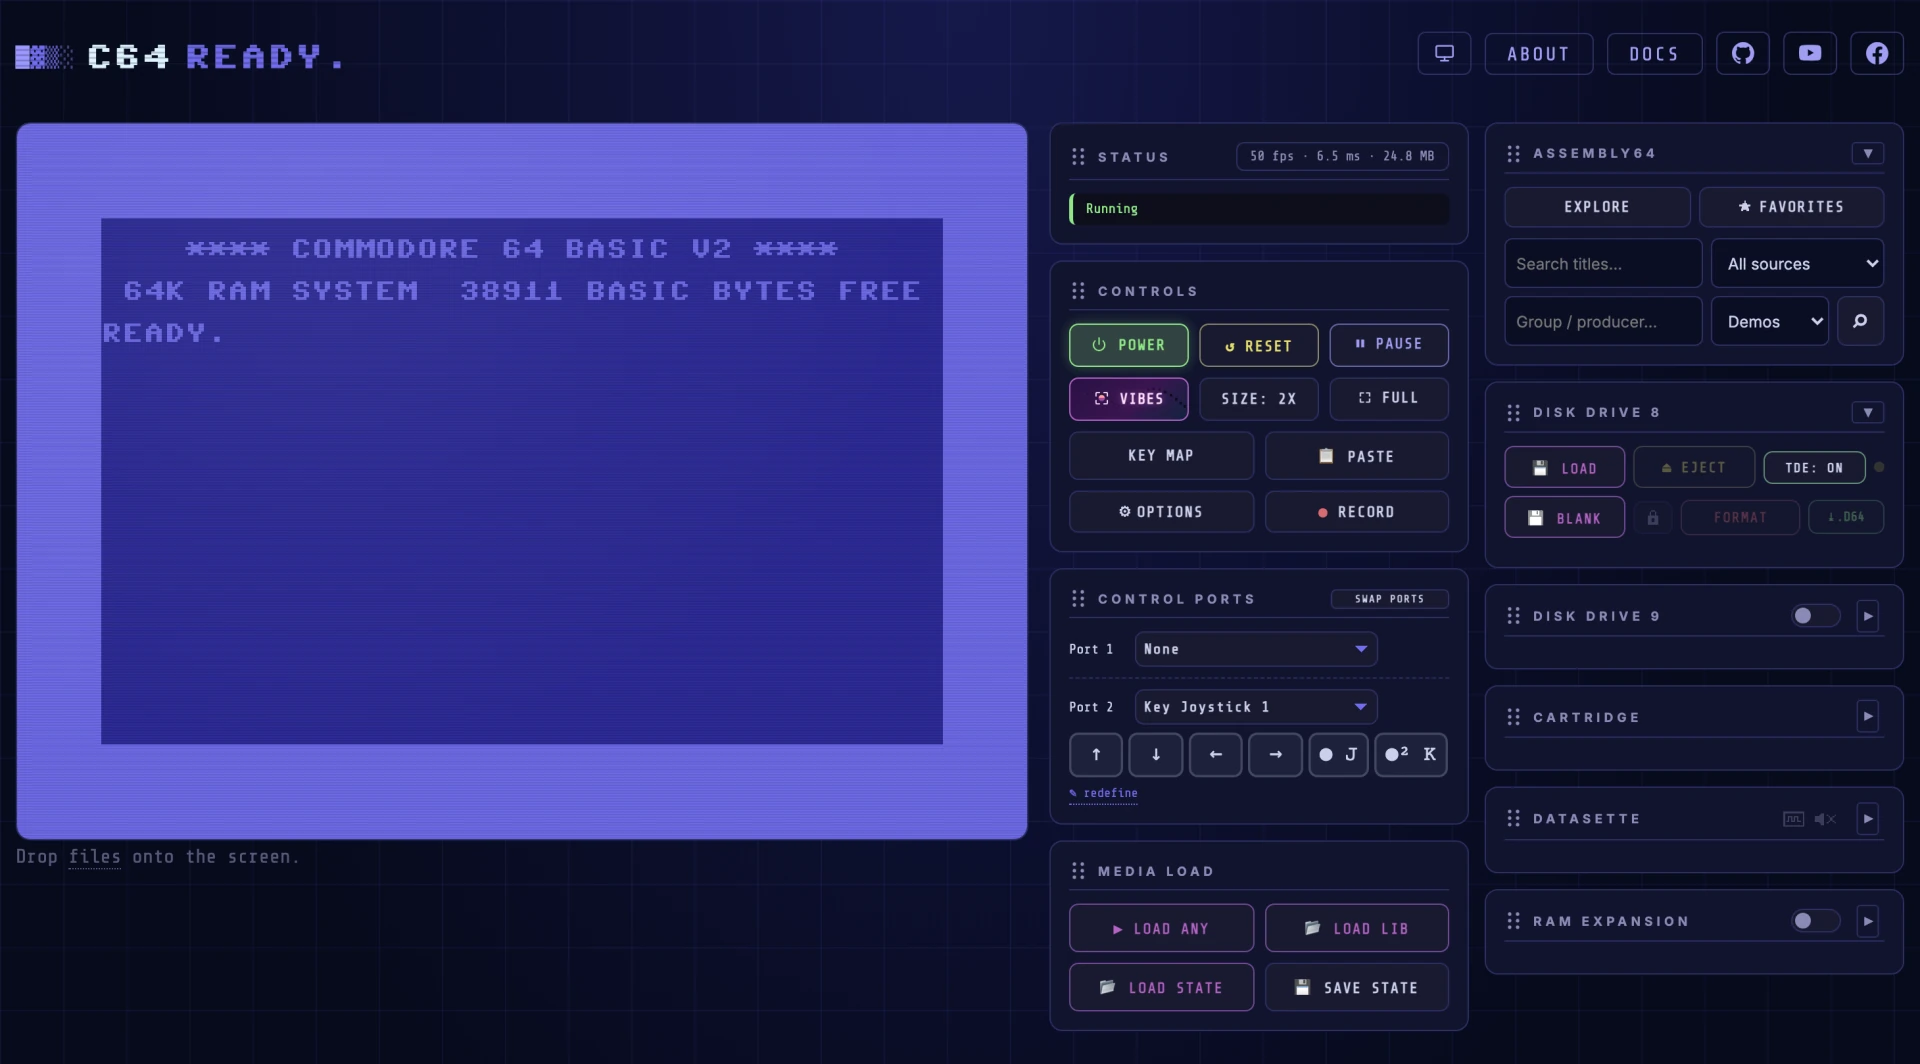
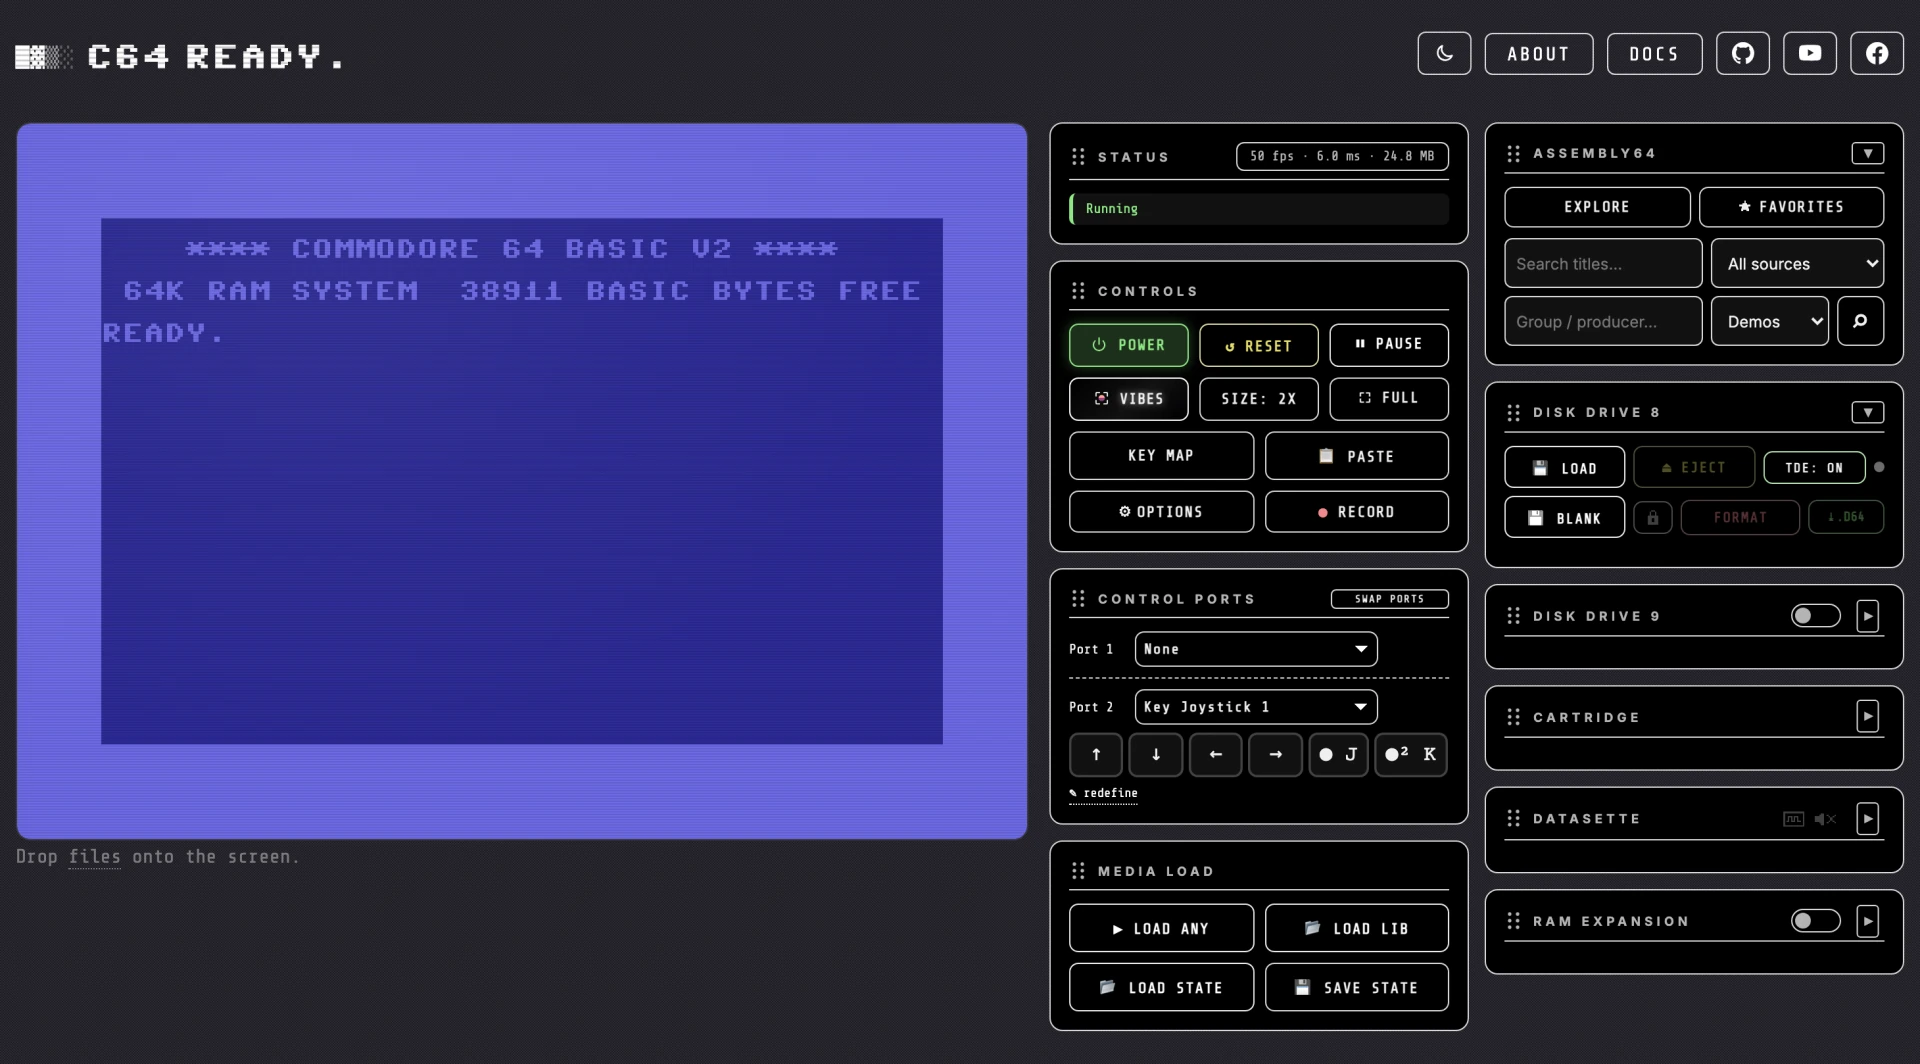
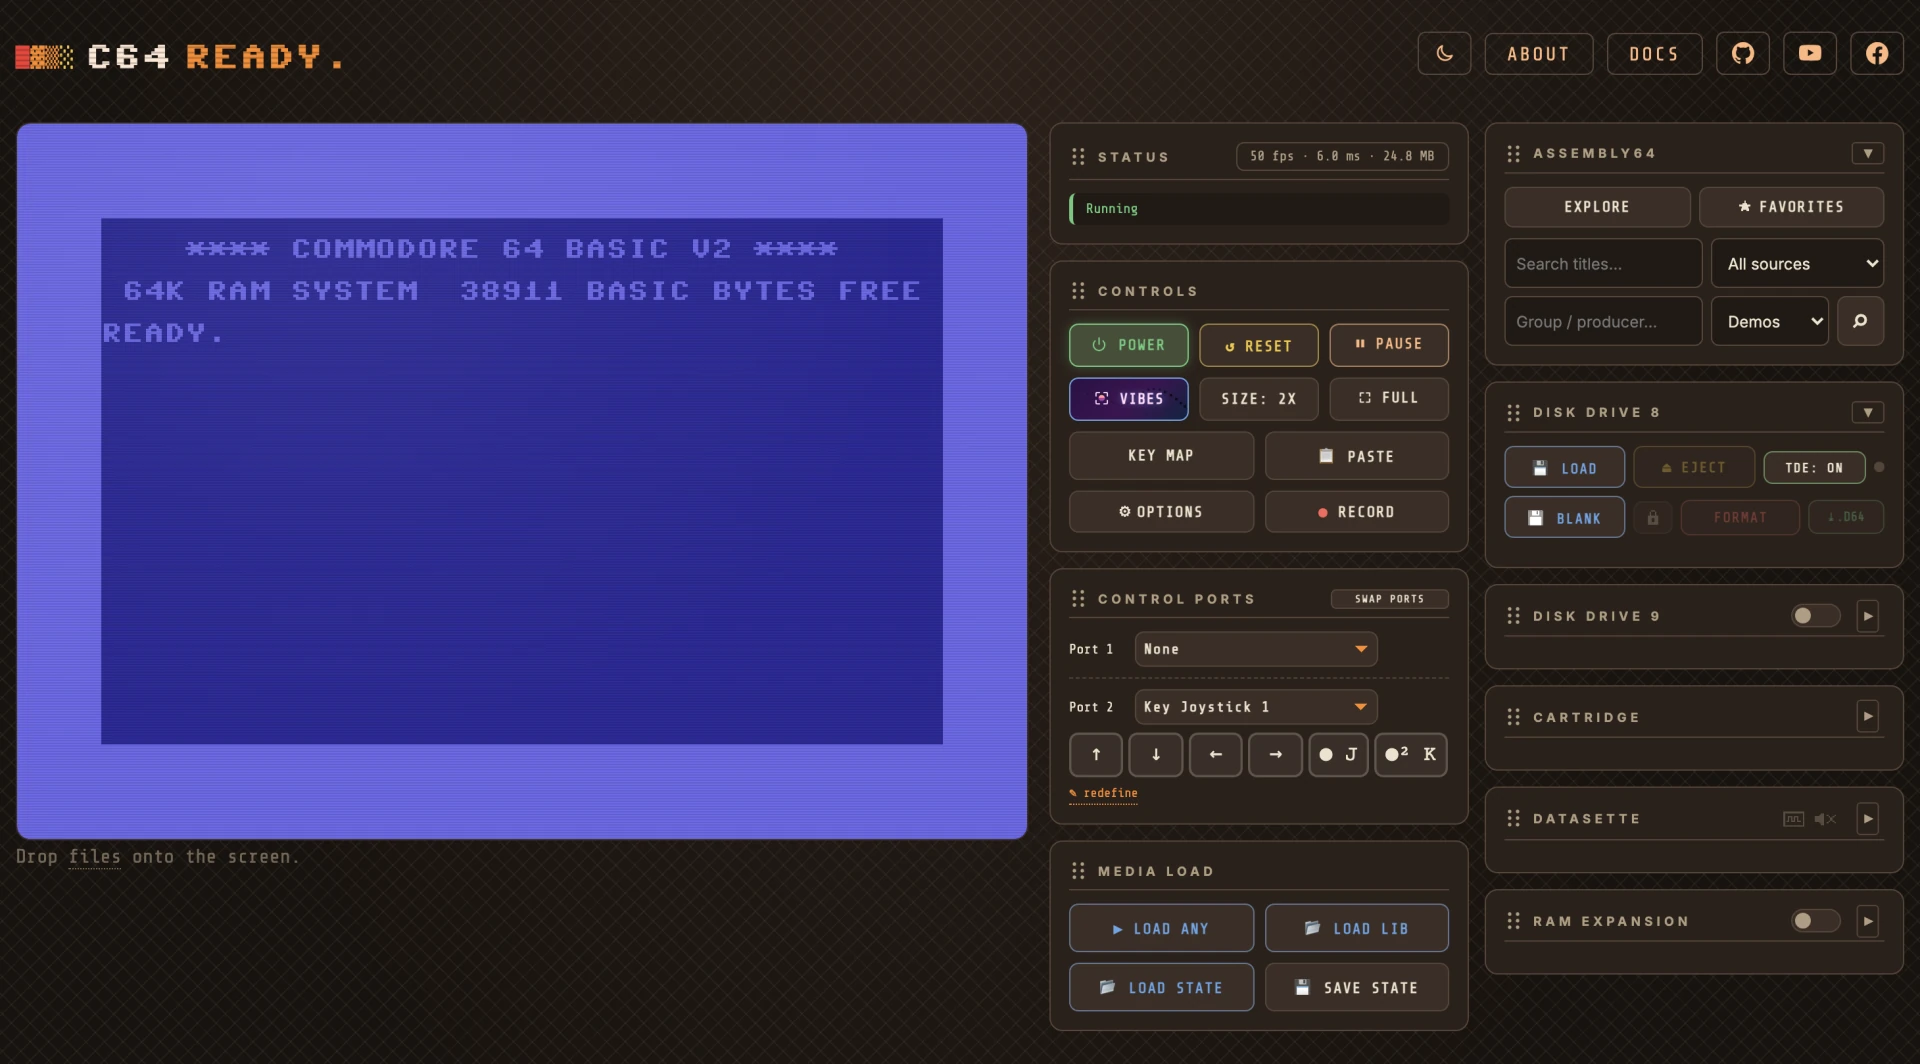
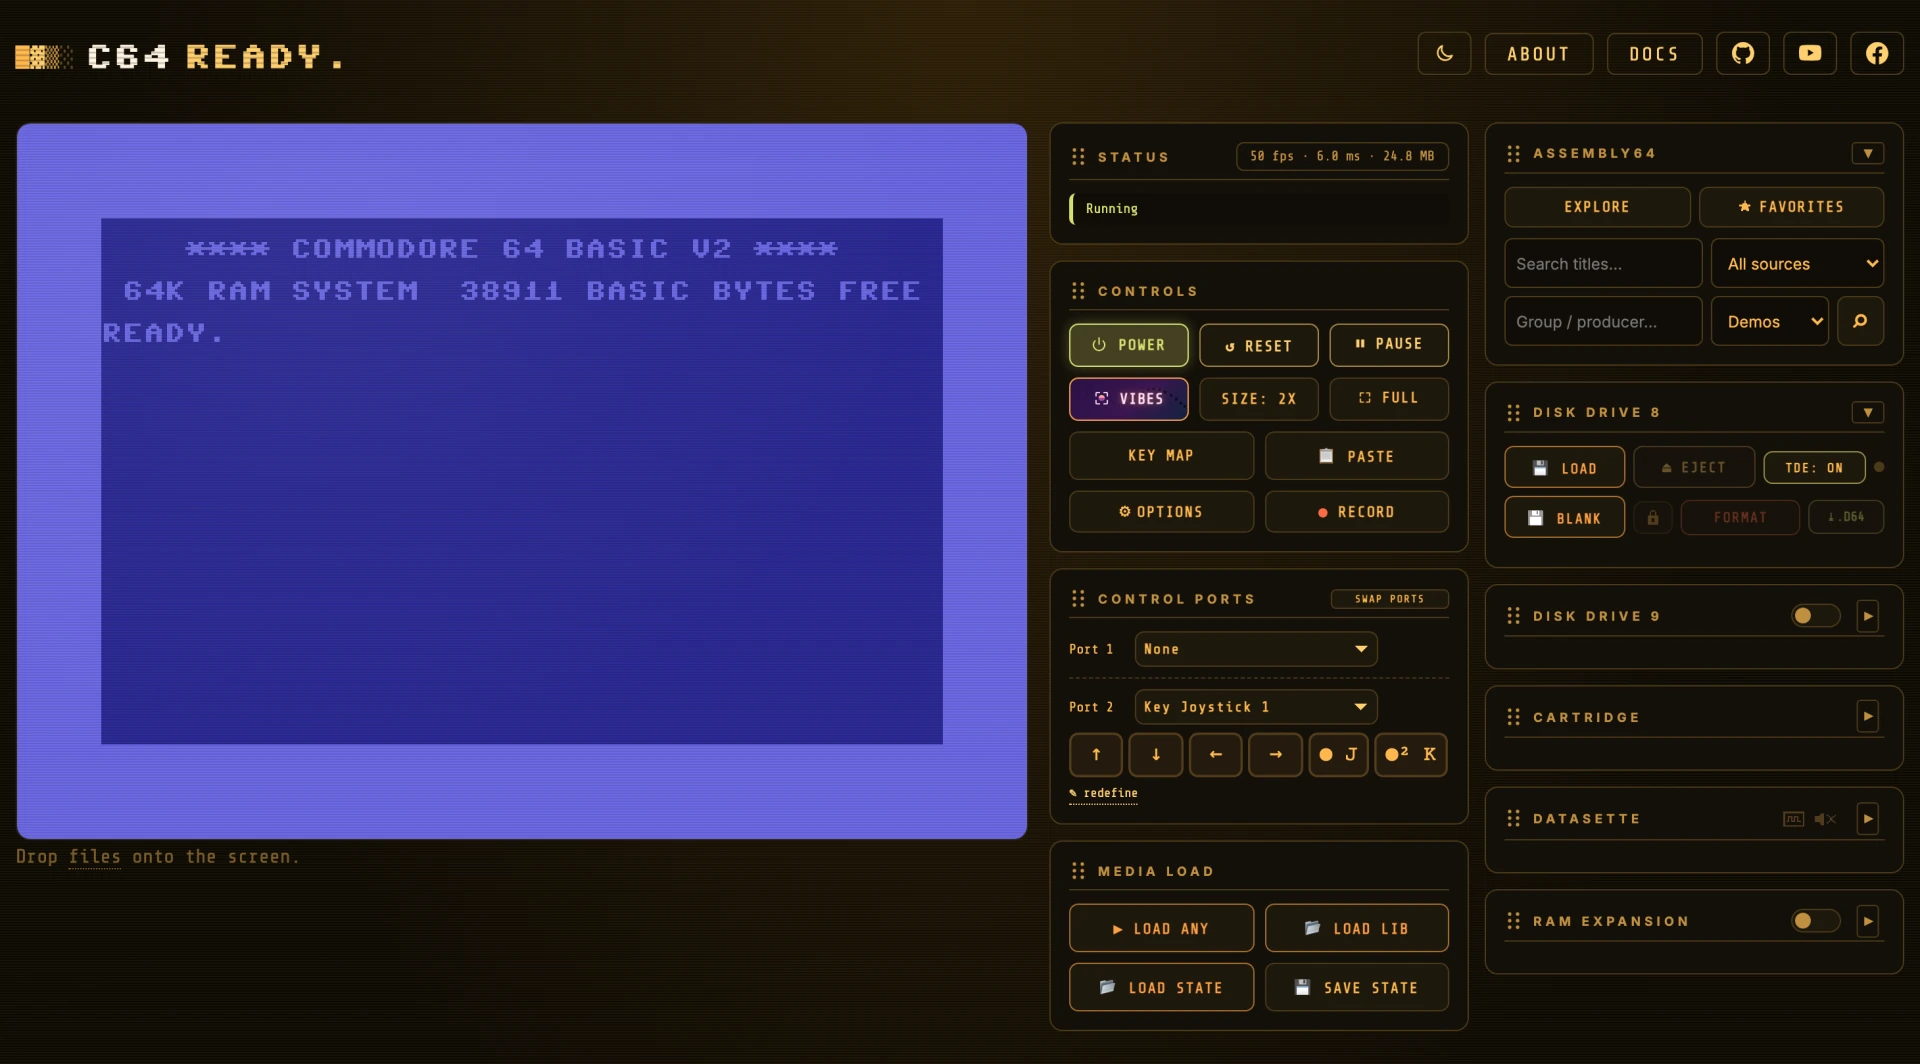
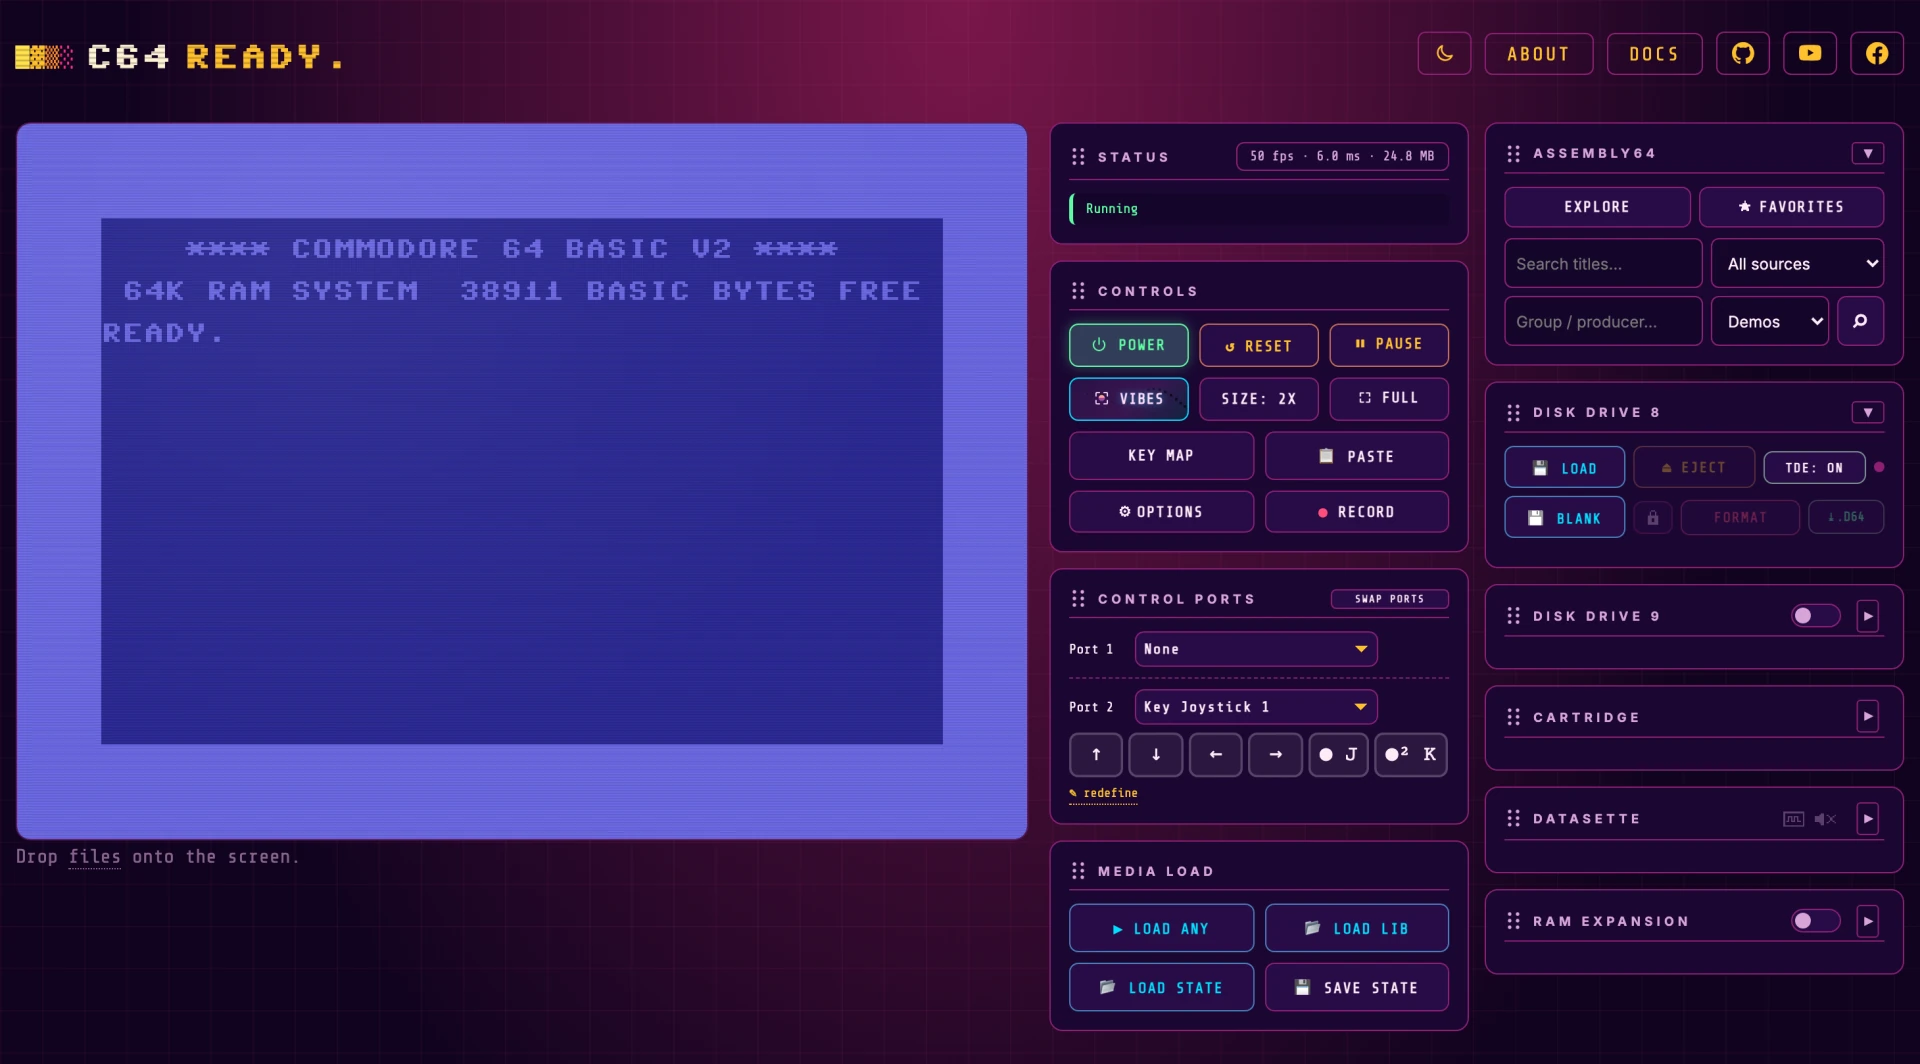
The window has three regions:
- Header (top) — branding and links.
- Display (left) — the emulated CRT screen.
- Side panel (right) — every control, grouped into cards.
At the default 1X size the side panel flows into two columns, so everything fits without scrolling; larger sizes stack it into one column beside a bigger screen. Buttons stay disabled until they can do something — most of the panel is greyed out until the ROMs load and you power on.
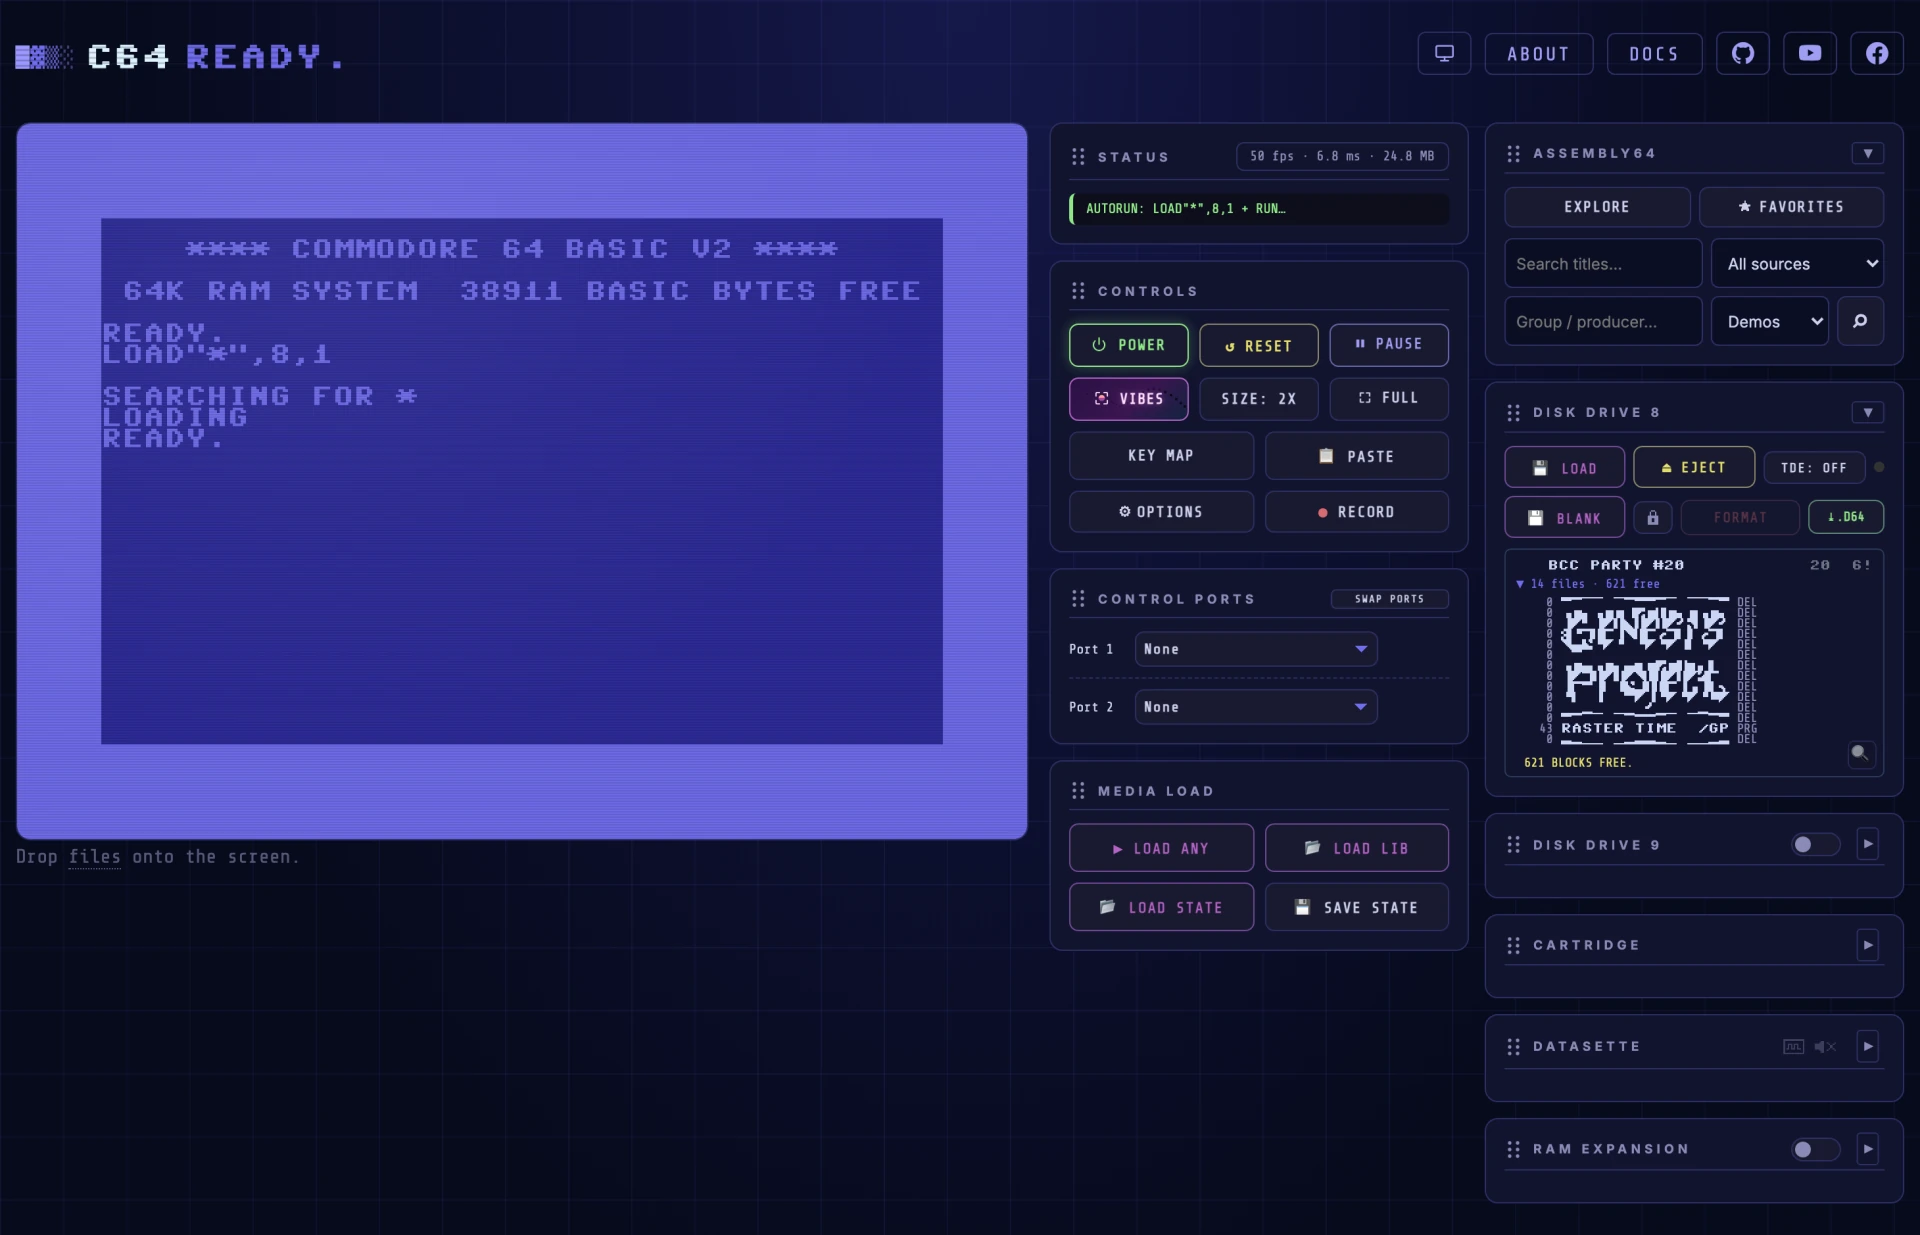
Here is the same interface with a demo running:

Header#

| Control | What it does |
|---|---|
| C64 READY. wordmark | The logo. Purely decorative. |
| ABOUT | Opens the About panel — what the emulator is, how the project started, the current known-issues, and credits. |
| DOCS | Opens this documentation site. |
Install as an app. On supported browsers a small "Install C64 READY." card appears at the top of the side panel. Installing gives you an offline, app-like launcher. Dismiss it with its ✕ and it won't return.
Display#
The screen is a live canvas showing the C64's video output, framed by a CRT bezel (styled by the CRT effect in Options).
- Click the screen to give it keyboard focus — needed before typing or before a game that polls the keyboard will see your keys.
- Drag & drop a
.PRG,.D64,.TAPor.CRTfile onto the screen to load it (pointer devices). The hint below the monitor reminds you. - On touch devices, tap the screen to raise the on-screen keyboard; the hint changes to say so.
Status#

A read-only card. The badge reports live performance — frames per second,
frame time in milliseconds, and the JavaScript heap in megabytes. The
line below is the current activity: Running, load progress, or an error.
Controls#

| Button | What it does |
|---|---|
| ⏻ POWER | Cold-boots the machine (and powers it off). Enabled once the ROMs are loaded. |
| ↺ RESET | Cold-resets the running machine — equivalent to a power-cycle, so it re-runs the boot sequence. |
| ⏸ PAUSE | Freezes emulation; press again to resume. |
| SIZE: 1X | Cycles the display size 1X → 1.5X → 2X. 1X shrinks the picture and flows the controls into two columns. |
| ⛶ FULL | Enters fullscreen. Exit with Esc or the ✕ button. |
| VIBES | Opens Retro Vibes — a full-screen 3D scene of the C64. |
| KEY MAP | Shows the full keyboard mapping. |
| 📋 PASTE | Reads your system clipboard and types it into the C64 keyboard buffer — handy for pasting BASIC listings. |
| ⚙ OPTIONS | Opens Options: VIC-II / SID / palette variants, display and sound toggles, and ROM files. |
| ● RECORD | Records the whole window with sound to an .mp4 — see Recording. Desktop Google Chrome only. |
Retro Vibes#

A full-screen 3D scene of the machine, opened with VIBES.
When Touch Joystick is assigned to a control port, its stick and buttons remain available over the 3D scene.
| Control | What it does |
|---|---|
| Drag | Rotate the view. |
| Scroll / pinch | Zoom. |
| Double-click / double-tap | Powers the C64 on when it's off — so you can boot the machine without leaving the 3D scene. |
| 🎬 | Change the scene. |
| ⛶ | Glides the camera to a head-on view that fills the frame with the monitor — a virtual fullscreen. Drag or scroll to break out of it. |
| 🥽 ENTER VR | View in VR (shown when a headset or the WebXR emulator is available). |
| ⓘ model credit | Shows attribution for the 3D model. |
| ✕ or Esc | Close and return to the emulator. |
Scenes#
The 🎬 button cycles through six scenes. Each strip shows the scene from the default view, up close, and from a low angle.
Synthwave

Starry Plain

Spotlight

IK+ Sunset

Arcade

80s Room

Which model loads is set by 3D MODEL in Options.
Recording#
Capture the whole browser window, with sound, to an .mp4 video using the
● RECORD button in Controls, enabled once the machine is
powered on. Click it, pick the window (or screen) to share in Chrome's prompt,
and the button becomes ⏹ STOP RECORDING. Press stop and the file downloads
as c64ready-<date-and-time>.mp4.
- It records everything on screen, so fullscreen and Retro Vibes are captured too. Because the button lives in the side panel, start recording before you enter those modes — the capture keeps running through the switch. To stop from inside them, use Chrome's own "Stop sharing" bar, or leave the mode and press ⏹ STOP RECORDING.
- The audio is the emulator's own output, tapped directly, so it stays clean and in sync even while the machine is muted.
- Desktop Google Chrome only. On any other browser the button shows a short note that recording needs Chrome.
Media load#

| Button | What it does |
|---|---|
| 📂 LOAD STATE | Opens the Save states dialog to restore a frozen machine; also imports / exports state files. |
| 💾 SAVE STATE | Freezes the whole machine — RAM, every chip register, and whatever disk / tape / cartridge is inserted — into a named slot stored in this browser (browse them later with LOAD STATE). |
| 📂 LOAD LIB | Opens the Library dialog of files you've loaded before, cached in this browser. |
| ▶ LOAD .PRG | Picks a .prg program from disk. Loading a PRG hard-resets first, then autoruns it (if AUTORUN is on). |
Save states dialog#

Opened with 📂 LOAD STATE. Frozen machine snapshots — full RAM, chip registers and inserted media — saved in this browser. Each row carries a thumbnail of the frozen frame, the state's name and how long ago it was saved.
| Control | What it does |
|---|---|
| Filter… | Narrows the list by save-state name as you type. |
| List item | Click to restore that state. |
| ⤓ (on a row) | Downloads that single state as a .c64state file — bring it to another browser or machine and pull it back in with 📥 IMPORT. |
| ✕ (on a row) | Deletes that save state. |
| 📥 IMPORT | Imports state files (.c64state, .c64states, .json). |
| 📤 EXPORT | Exports your saved states to a file. |
| 🗑 CLEAR ALL | Deletes every save state (asks first). |
Create a state with 💾 SAVE STATE while a program is running. Until then the dialog is empty, with just an IMPORT button:

Library dialog#

Opened with 📂 LOAD LIB. Every .PRG / .D64 / .CRT / .TAP you open is
cached here so you can reload it without picking it from disk again. Each row is
tagged with its file type and shows the name, size and when you loaded it.
| Control | What it does |
|---|---|
| Filter… | Filters the list by name. |
| List item | Click to load that file again. |
| 📥 IMPORT | Imports a .rdy library archive. |
| 📤 EXPORT | Exports your library to a .rdy file (to move it to another browser / device). |
| 🗑 CLEAR ALL | Removes every cached file (asks first). |
Before you've loaded anything the list is empty, with just an IMPORT button:

Control Ports#

Models the C64's two control ports.
| Control | What it does |
|---|---|
| SWAP PORTS | Swaps the devices assigned to Port 1 and Port 2 — the quickest fix when a game expects the joystick in the other port. |
| Port 1 / Port 2 selector | Chooses what's plugged into each port: None, Joystick (gamepad), Touch Joystick (touch devices only), Mouse (1351), Mouse (NEOS), Paddle, Key Joystick 1, or Key Joystick 2. |
Choosing Joystick (gamepad) reveals a Gamepad row to bind a detected physical gamepad to that port.
Default: Port 2 is a Key Joystick 1 (arrow keys to move, N / M to fire), so you can play straight away with no gamepad attached.
Touch Joystick#
Choosing Touch Joystick (touch devices only) shows a fixed overlay above the screen and UI: an eight-way circular stick at the lower-left and B / A buttons at the lower-right. A drives FIRE; B drives the UP line used by the common C64 second-button convention. In landscape the controls move to the viewport corners, and they stay available in fullscreen:

Key Joystick#
Choosing a Key Joystick shows a row of key chips in the port row, one per direction and fire button. Each chip is tappable (and clickable) — press and hold to trigger that direction or fire — so a key joystick is fully playable by touch on a keyboardless phone or tablet, and by mouse too. Its redefine link opens this dialog:

It maps six roles — up, down, left, right, fire A, fire B — to physical keys.
| Button | What it does |
|---|---|
| REDEFINE ALL KEYS | Walks through every control in turn, capturing the key you press for each. |
| RESET TO DEFAULTS | Restores the default bindings. |
| DONE | Closes the dialog. |
Click any single row to rebind just that one control. Defaults for Joy 1 are the arrow keys with N (fire A) and M (fire B); each key joystick has its own independent set.
Disk drive 8#

The primary 1541 floppy drive (IEC device 8).
| Control | What it does |
|---|---|
| 💾 LOAD | Inserts a .d64 disk image (or drop one on the screen). |
| 💾 BLANK | Inserts a blank, unformatted disk (shows 0 blocks free). Format it — with FORMAT, or from BASIC with N:name,id — before you can save to it. |
| ⏏ EJECT | Removes the disk. |
| 🔒 / 🔓 | Write-protect toggle. Loaded disks start protected (🔒); click to allow the drive to write (🔓). A freshly inserted blank disk starts writable. |
| 🧹 FORMAT | Erases the inserted disk to an empty format (asks for a name). Disabled while the disk is write-protected (🔒). |
| ⤓ .D64 | Downloads the disk — with your changes — as a .d64 file. Enabled once the disk has changes to save; disables again after you export. |
| TDE: OFF / ON | Toggles True Drive Emulation — runs a real 1541 CPU on the IEC bus, needed for custom fastloaders. With it off, LOAD is served directly from the disk image (faster, but some loaders won't work). |
| Drive LED | Lights while the drive is active. |
| ▼ n files | Expands the directory: disk name, blocks free, and the file list. It updates itself when the running program changes the disk. |
| 🔍 | Opens the Directory zoom viewer — enlarged, filenames only, so PETSCII directory art reads clearly. |
Writing to disk. The drive writes back to the .d64: SAVE a program, scratch
or rename a file, and the change lands on the disk. Writing needs the disk unlocked
(🔓) — loaded disks are protected until you allow it. Modified disks auto-save to
your browser Library so they survive a reload, and the ⤓ .D64 button enables so
you can download a copy; it goes quiet again once you have.
Before a disk is inserted the card shows a hint and only LOAD and BLANK are active:

Disk drive 9#

An optional second drive (IEC device 9), off by default and invisible to the C64 until you switch it on. It reads, writes, and formats just like drive 8.
| Control | What it does |
|---|---|
| Power switch | Connects / disconnects device 9. Turning it on opens a confirmation dialog first (see the warning below). |
| 💾 LOAD / 💾 BLANK / ⏏ EJECT | Insert / insert-blank / remove a .d64 as device 9. |
| 🔒 / 🧹 FORMAT / ⤓ .D64 | Write-protect toggle, format, and export — same as drive 8. |
| TDE: OFF / ON | True Drive Emulation for device 9 (needs the 1541 ROM). |
⚠️ A second drive on the bus can crash fastloader demos and games. When you flip the power switch on, a confirmation dialog appears — "Demos might not work when disk drive 9 is active" (Turn on to proceed, or decline to revert). This is not a formality: many custom fastloaders drive the IEC bus with cycle-exact timing and assume they are the only device on it. A connected drive 9 changes the bus timing and can make such a loader hang, glitch, or crash outright — even the disk running from drive 8. Only turn drive 9 on when you specifically need two drives, and turn it back off before loading a fastloader-based title.
Cartridge#

| Button | What it does |
|---|---|
| 🎮 LOAD | Inserts a .crt cartridge image (or drop one on the screen). |
| ⏏ EJECT | Removes the cartridge. |
| ↻ RESET | On cartridges that provide it: presses the cartridge's reset button while preserving C64 RAM. |
| ❄ FREEZE | On freezer cartridges that provide it: presses and releases the physical freezer button. |
RESET and FREEZE are capability-driven: they are shown only for inserted cartridges that provide those controls (currently Action Replay and Final Cartridge III). They remain visible but disabled while the C64 is powered off.

Datasette#

A 1530 Datasette for .tap tape images.
| Button | What it does |
|---|---|
| 📼 LOAD | Inserts a .tap tape image (or drop one on the screen). |
| ⏏ EJECT | Removes the tape. |
| ▶ PLAY | Presses PLAY on the deck. In BASIC, type LOAD then press PLAY and the machine reads the tape. |
| ⏮ REW | Rewinds to the start. |
| ⏹ STOP | Stops the tape. |
The bar shows tape position; the dot beside it lights when the datasette motor is running; the counter on the right shows elapsed time. As animated above: insert a tape (or press ▶ PLAY) and — with AUTORUN on — the motor dot turns green, the bar fills, and the counter climbs from 0m00s.
Options#
Opened with ⚙ OPTIONS. Hardware, display and sound settings, plus ROM management. All choices persist in this browser.

Display#
| Button | What it does |
|---|---|
| 🖥 CRT | Cycles the CRT visual effect: ON (basic scanlines) → TUBE (phosphor mask + vignette + glow) → B&W (monochrome tube) → ARCADE (bright, sharp scanlines) → HUM (tube look with a slow rolling mains-hum bar) → OFF (flat, crisp pixels). |
| ATTRACT MODE | On by default: plays an animated attract-mode demo on the screen while the machine is powered off. Turn it off to show a simple "press power to boot" hint instead. |
| 3D MODEL | Which model the VIBES viewer loads: SMALL (default — a light model that's easy on memory everywhere), AUTO (picks by device: lighter on phones/tablets, detailed 4K on desktop), or LARGE (force the 4K model). Takes effect next time you open VIBES. |
| STAY AWAKE | Keeps the screen awake while a demo runs, so the device doesn't dim or lock (which would pause the emulator). |
Video#
| Button | What it does |
|---|---|
| VIC | Switches the VIC-II graphics chip: 6569 (original PAL, NMOS breadbin) ↔ 8565 (late PAL, HMOS C64C/C128 — adds a 1-cycle pixel-pipeline delay some demos use). |
| PAL | Switches the colour palette: Colodore (the modern VICE default — sharper, more saturated) ↔ Pepto (the classic 2001 measurement-based palette). Applies within one frame. |
Sound#
The master volume control at the top of this section sets how loud everything — SID and drive sounds — plays. Drag the slider to set the level, or click the speaker icon on its left to mute. The scale is perceptual (mid-slider is roughly half as loud) and defaults to 70%, which leaves headroom so the emulator sits closer in loudness to other apps. Raising the volume from silent also un-mutes; while muted, the speaker shows a red ✕ and playback keeps running silently.
| Button | What it does |
|---|---|
| SID | Switches the SID sound chip model: 6581 (original) ↔ 8580 (later revision). |
| DRIVE SOUND | Plays synthesized 1541 sounds — motor hum, head-stepper clicks, fast-load chatter — while the drive is active. |
Media#
| Button | What it does |
|---|---|
| AUTORUN | When on, RUN (BASIC) or SYS <addr> (machine code) is injected automatically after a PRG loads. When off, the machine stays at the READY. prompt so you can start it yourself. |
ROM Files#
The C64 needs Commodore's KERNAL, BASIC and CHARGEN ROMs (plus an optional 1541 ROM for True Drive Emulation). A status line shows which are present. On first run the Setup dialog walks you through loading them.
| Control | What it does |
|---|---|
| LOAD… (per ROM) | Loads a ROM file from your device for KERNAL, BASIC, CHARGEN or 1541 DOS. |
| CLEAR | Removes all cached ROM uploads from browser storage. |
⚠️ The KERNAL, BASIC, CHARGEN and 1541 ROMs are Commodore's copyrighted property and are not bundled — you must supply them legally. See Getting Started.
Setup C64 READY.#

Appears automatically on first run, when no ROMs are found — the C64 can't boot without them. See Getting Started for the walkthrough.
| Control | What it does |
|---|---|
| LOAD… (per ROM) | Loads a ROM file from your device for KERNAL, BASIC, CHARGEN or 1541 DOS. |
| 🔍 help me find it | Opens a web search for that exact ROM filename so you can locate and download it yourself — the emulator never downloads it for you. |
| Find them later / Done | Closes the dialog. Reads Find them later until the three mandatory ROMs are loaded, then Done. |
Key Map#

A reference (opened with KEY MAP) for how your PC keyboard maps onto the C64. The special keys are worth memorising:
| PC key | C64 key |
|---|---|
| F9 | RUN/STOP |
| F10 | C= (Commodore key) |
| F11 | CLR/HOME |
| F12 | RESTORE (NMI) |
| Enter | RETURN |
| Backspace / Delete | INST/DEL |
| Arrows | CRSR movement |
| ^ | ↑ · _ produces ← |
| Esc | reserved (fullscreen exit) |
Click the screen to capture keyboard focus before typing.
Directory zoom#

Opened with the 🔍 button in a drive's directory panel. It shows the disk's filenames large — filenames only, no block counts or type tags — so the PETSCII artwork many demos hide inside their directory listing reads clearly (above, the Raster Time disk by Genesis Project).
Updates#

C64 READY. is a Progressive Web App, so it refreshes itself in the background. When a newer version has been downloaded and is ready to run, a toast appears at the bottom of the screen:
| Button | What it does |
|---|---|
| Reload | Applies the update and reloads into the new version. |
| Later… | Dismisses the toast and keeps your current session running; the update applies automatically the next time you launch the app. |
Your running machine is never swapped out from under you — nothing changes until you choose Reload (or relaunch later).
Keyboard shortcuts#
| Key | Action |
|---|---|
| Esc | Exit fullscreen · close the open dialog / 3D viewer. |
| F9–F12 | RUN/STOP · C= · CLR/HOME · RESTORE (see Key Map). |
Everything else on the physical keyboard is passed straight through to the C64 per the Key Map once the screen has focus.