Docs / User Guide / The interface
The interface#
The header, the display and the cards that run the machine, and how to arrange them. Part of the User Guide.
Header#

| Control | What it does |
|---|---|
| C64 READY. wordmark | The logo. Purely decorative. |
| Appearance (moon, sun or screen) | Switches the interface between dark, light and following your system's setting. From following the system (the default), the first click shows the other mode, the second your system's own, the third goes back to following the system. The icon shows the current setting: a moon for dark, a sun for light, a screen for following the system (the default). The same setting is APPEARANCE in Options ▸ Theme. Shown on phones too. |
| ABOUT | Opens the About panel: what the emulator is, how the project started, the current known-issues, and credits. |
| DOCS | Opens this documentation site. |
| GitHub | The full source, on GitHub. Desktop only; on a phone the same link is in the About panel. |
| YouTube | The C64 READY. channel. Desktop only, likewise. |
| The C64 READY. page on Facebook. Desktop only, likewise. |
Install as an app. On supported browsers a small "Install C64 READY." card appears at the top of the side panel. Installing gives you an offline, app-like launcher. Dismiss it with its ✕ and it won't return.
Display#
The screen is a live canvas showing the C64's video output, framed by a CRT bezel (styled by the CRT effect in Options).
The picture is never stretched. It keeps the C64's own 384x272 proportions at every size, window shape and CRT look. A narrower window makes it smaller, never squashed, and the bezel shrinks with it. On a phone held sideways a large size may be taller than the screen: scroll, or pick a smaller size. ⛶ FULL centres the picture on the whole screen with bars around it.
- Click the screen to give it keyboard focus, needed before typing or before a game that polls the keyboard will see your keys.
- Drag & drop a
.PRG,.D64,.CRT,.TAP,.T64,.SIDor.REUfile onto the screen to load it (pointer devices). The hint below the monitor reminds you. - On touch devices, tap the screen to raise the on-screen keyboard; the hint changes to say so.
Status#
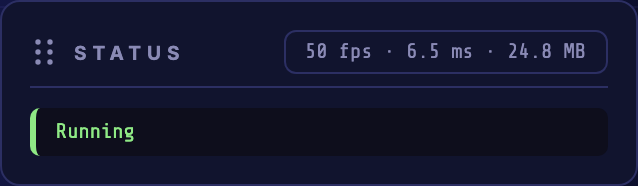
A read-only card. The badge reports live performance: frames per second,
frame time in milliseconds, and the JavaScript heap in megabytes. The
line below is the current activity: Running, load progress, or an error.
Controls#
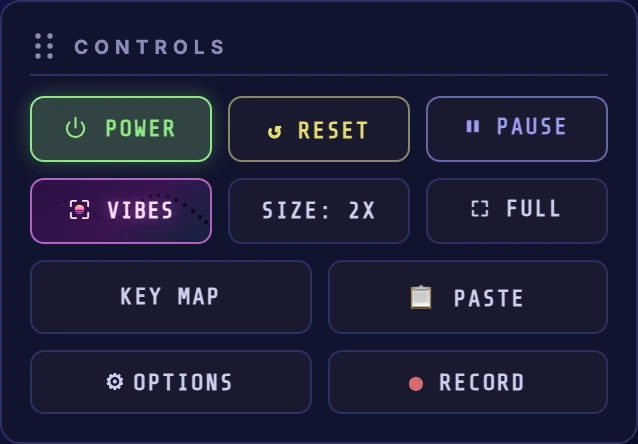
| Button | What it does |
|---|---|
| ⏻ POWER | Cold-boots the machine (and powers it off). Enabled once the ROMs are loaded. |
| ↺ RESET | Cold-resets the running machine, equivalent to a power-cycle, so it re-runs the boot sequence. |
| ⏸ PAUSE | Freezes emulation; press again to resume. |
| SIZE: 2X | Cycles the picture size 1X → 2X → 2.5X → 3X → MAX. The numbered sizes are whole multiples of the C64's 384x272 screen, so every C64 pixel is the same number of screen pixels; MAX fills the width instead. Nothing is stretched. A size too big for your window is skipped; on a landscape phone the cycle is 1X → 2X → MAX. The side panel narrows to make room for the larger sizes. |
| ⛶ FULL | Enters fullscreen. Exit with Esc or the ✕ button. |
| VIBES | Opens Retro Vibes, a full-screen 3D scene of the C64. |
| KEY MAP | Shows the full keyboard mapping. |
| 📋 PASTE | Reads your system clipboard and types it into the C64 keyboard buffer, handy for pasting BASIC listings. |
| ⚙ OPTIONS | Opens Options: VIC-II / SID / palette variants, display and sound toggles, and ROM files. |
| ● RECORD | Records the whole window with sound to an .mp4; see Recording. Requires browser screen capture and media recording support. |
Rearranging the interface#
The side panel is yours to lay out: cards can be reordered, moved between the columns, hidden, and brought back. Everything here is remembered in this browser.
Rearranging#
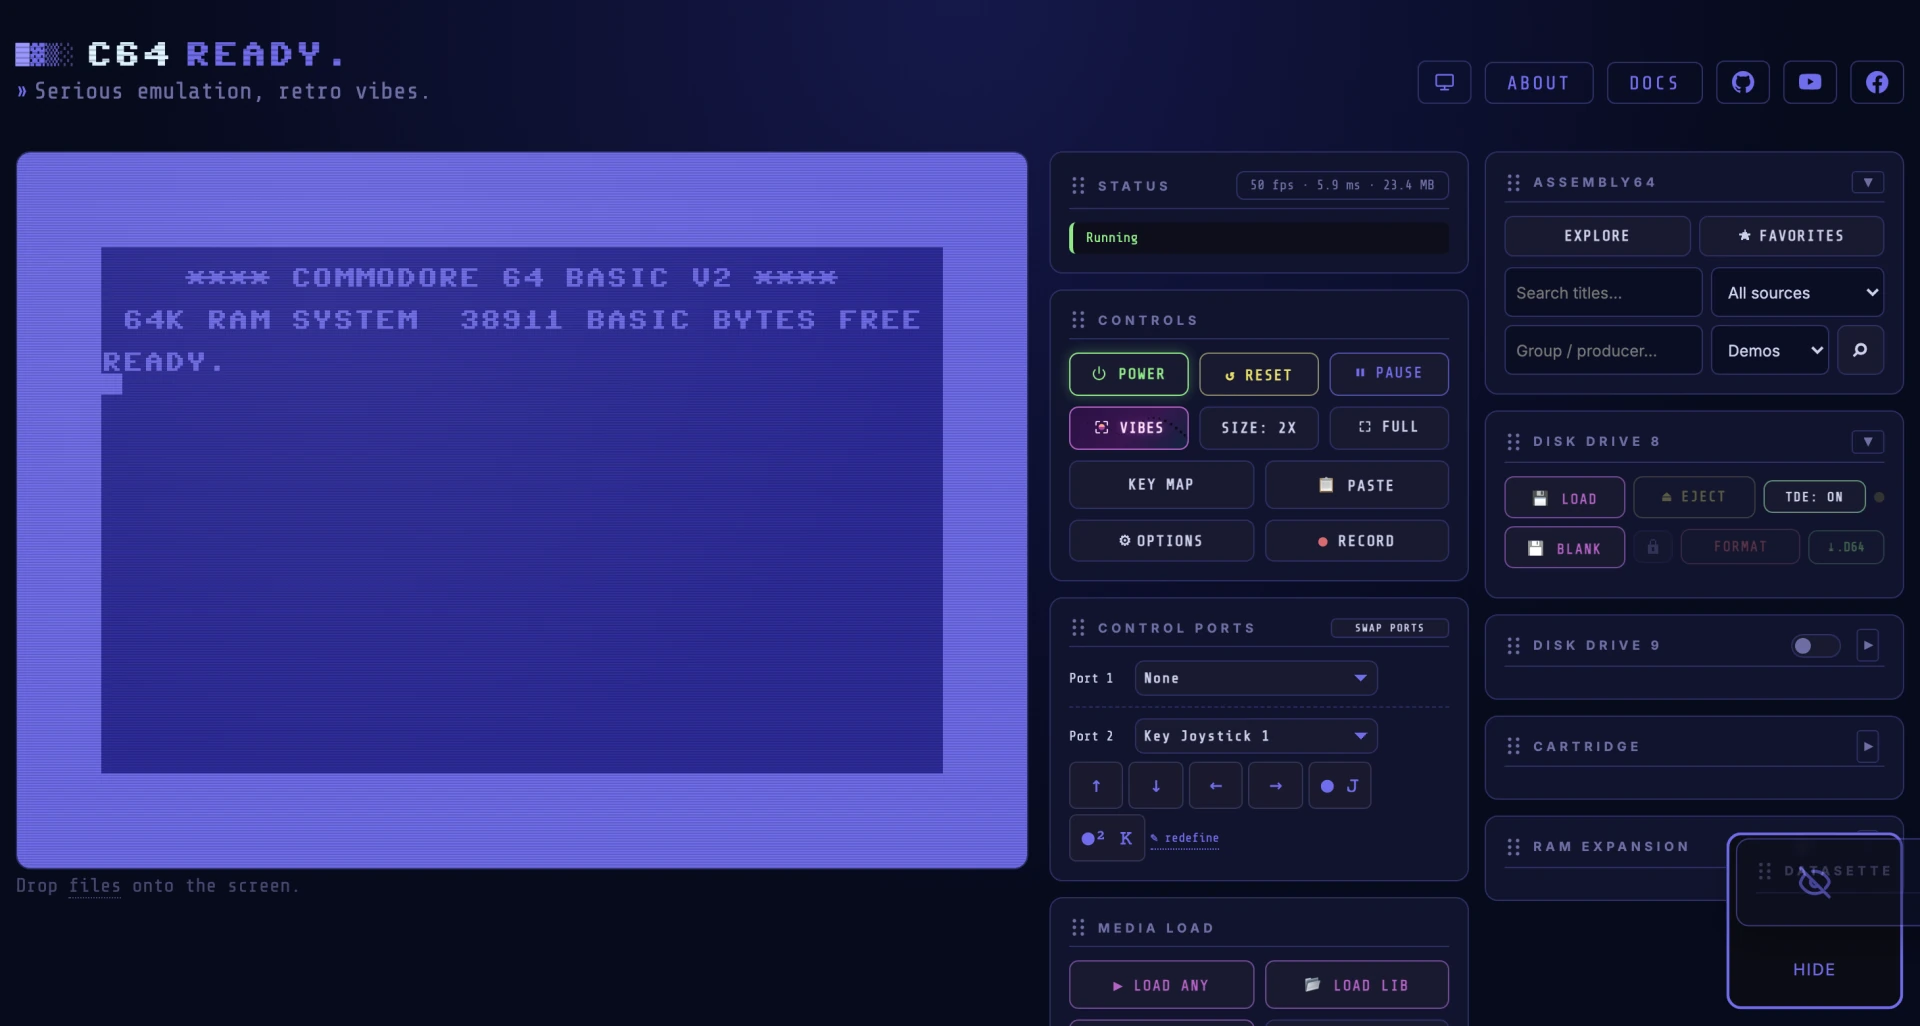
Drag a card by its grip handle (⠿) to move it within its column or across to the other; a dashed outline shows where it will land. Put every card in one column if you like; the other stays an outlined empty target.
From the keyboard, Tab to a card's handle, then use ↑ / ↓ to move the card within its column, ← / → to move it to the other column, and Home / End to send it to the top or bottom.
Hiding#
While you drag, a square Hide target appears in the bottom-right corner. Drop a card there and it leaves the panel, keeping its place in the saved layout. From the keyboard, press Delete (or Backspace) on a card's handle.
Adding one back#
While anything is hidden, a + sits in that corner. It opens a picker of the hidden cards; choosing one puts it back at the bottom of its column. From the keyboard, Tab to the + and press Enter, use ↑ / ↓ to pick a card in the list, and Enter again.
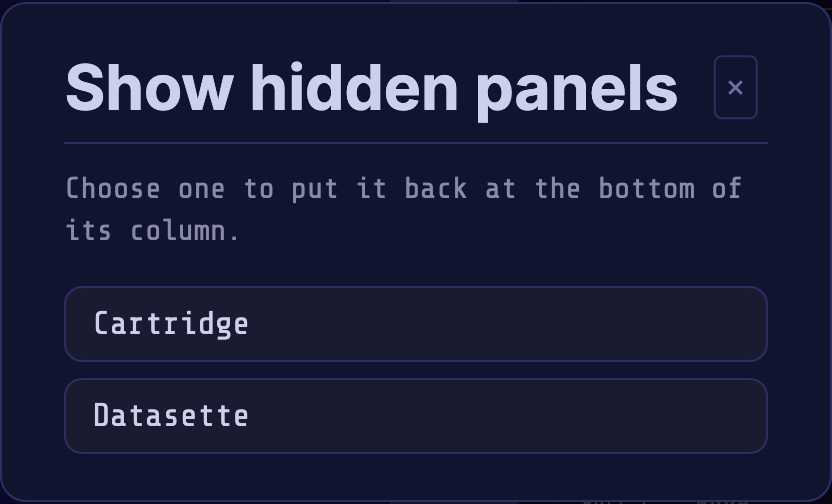
Options ▸ Display ▸ RESET PANELS is the way back for everything at once; the original order, and every hidden card with it.
Key Map#
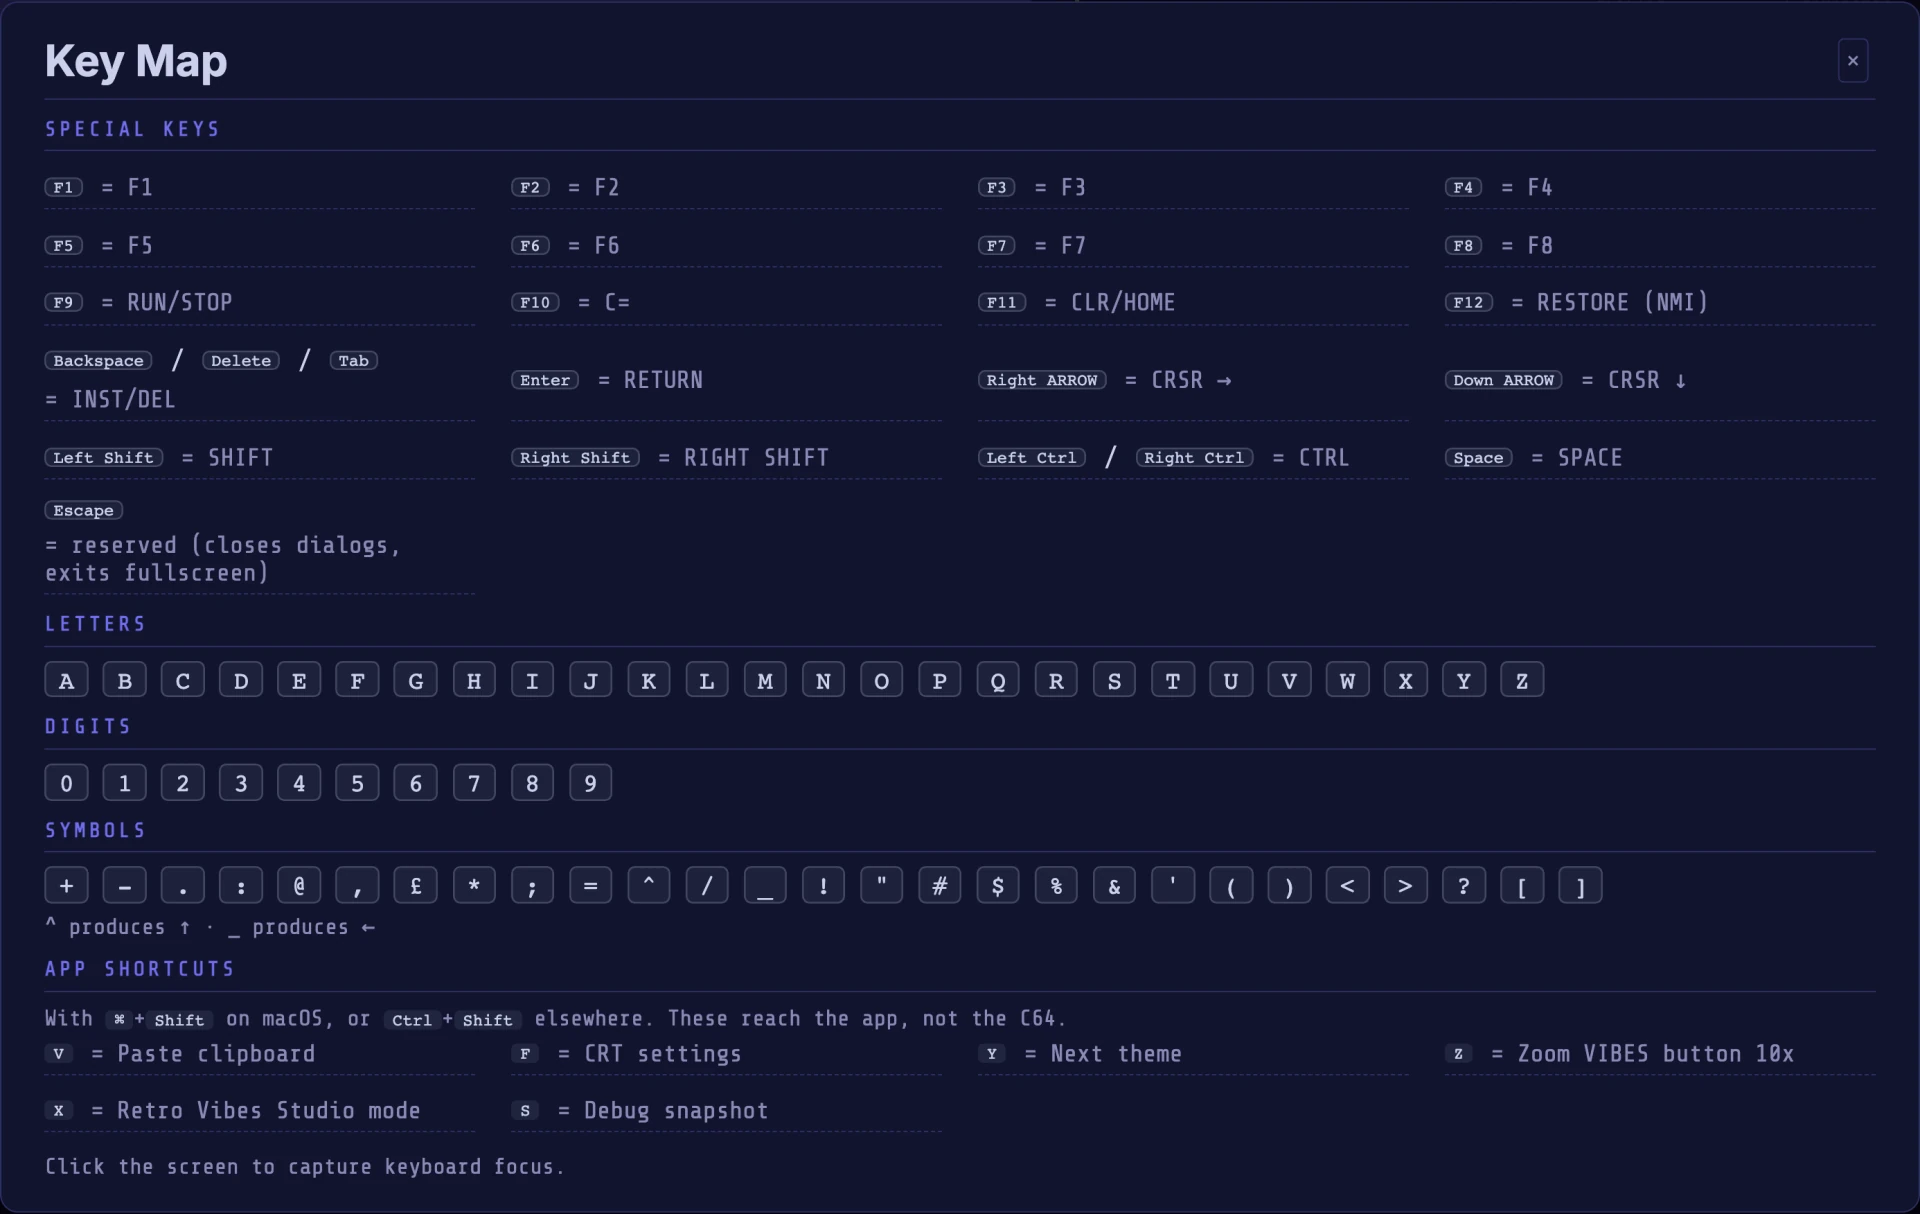
A reference (opened with KEY MAP) for how your PC keyboard maps onto the C64. The special keys are worth memorising:
| PC key | C64 key |
|---|---|
| F9 | RUN/STOP |
| F10 | C= (Commodore key) |
| F11 | CLR/HOME |
| F12 | RESTORE (NMI) |
| Enter | RETURN |
| Backspace / Delete | INST/DEL |
| Arrows | CRSR movement |
| ^ | ↑ · _ produces ← |
| Esc | reserved (closes dialogs, exits fullscreen) |
Click the screen to capture keyboard focus before typing.
Directory zoom#
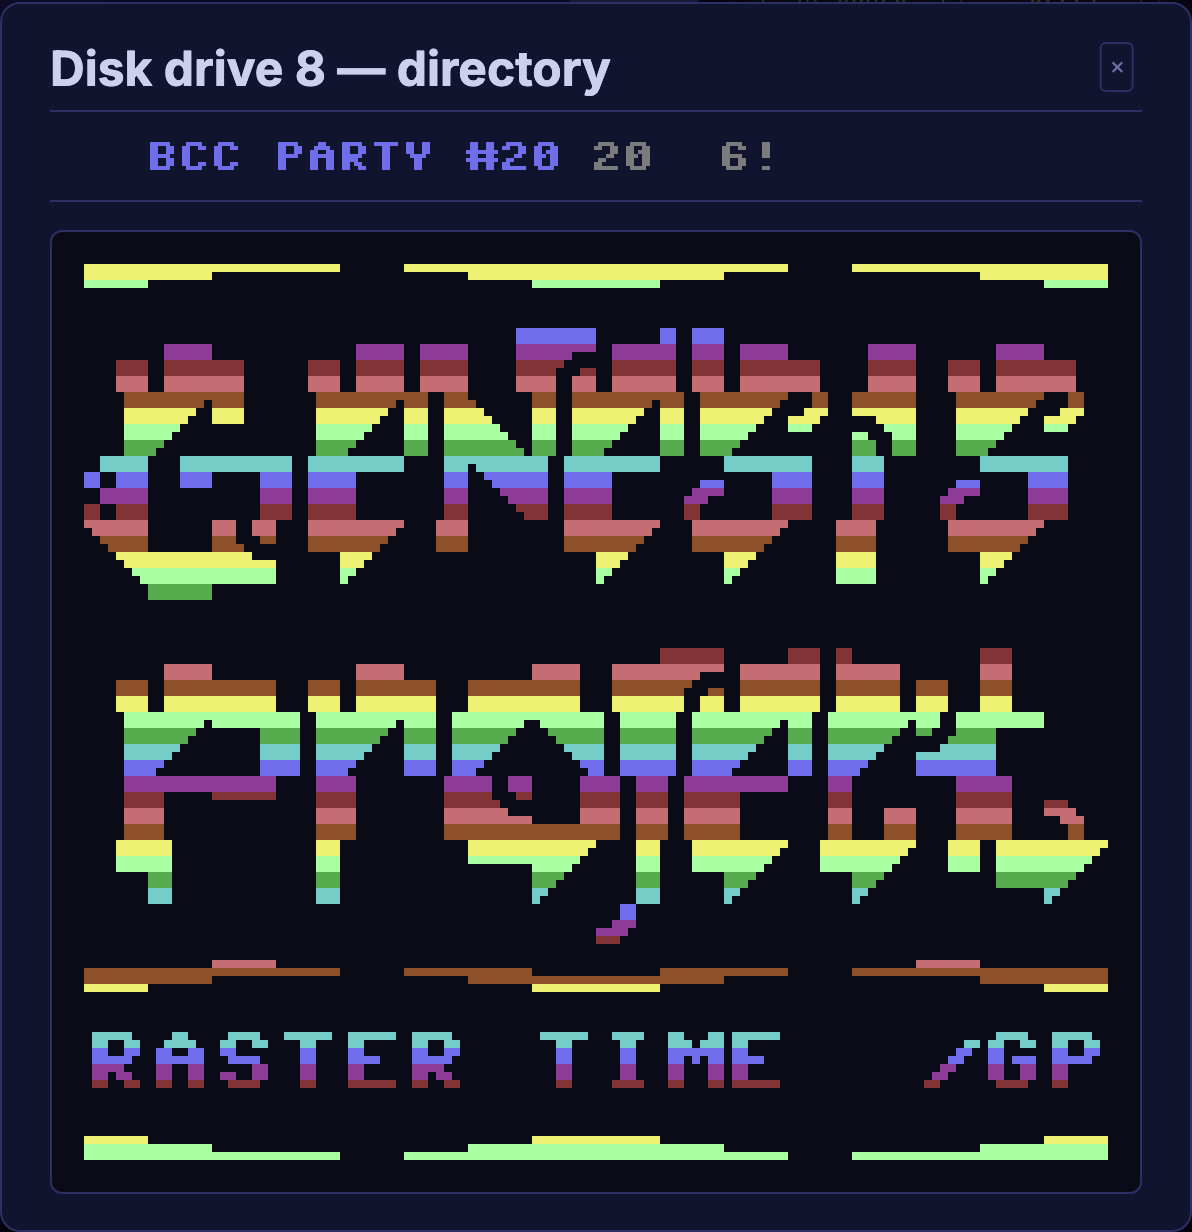
Opened with the 🔍 button in a drive's directory panel. It shows the disk's filenames large (filenames only, no block counts or type tags), so the PETSCII artwork many demos hide inside their directory listing reads clearly (above, the Raster Time disk by Genesis Project).